

About putting up a tower...
Already from the beginning I would like to point out that this is a very large project and there can be specific rules in your country. I describe how I have made this and I'm sure there are more ways to do it. I have tried to contact people with the right skills when I have not been sure about things, but I can not guarantee that this is the right way to do this.
If you are about to put up a tower ñ think through the project several times. I know that many thinks that some of my projects take a lot of time, but there are NO place for mistakes here!
When you start your project I think it's a good way to begin collecting things that you later will need. It's then also easier to see if they really will fit together. You would not like to discover that hanging in the towertop...
All bolts used are warm-galvanized, the quality is often mentioned as FZV. It's important NOT to have the quality FZB since this later type will not last for long. FZV-quality can be hard to find but it's really worth looking for. All bolts holding the tower must be new and never used!
Regulations
I began checking with my wife... next I checked with the community about the rules for putting up a tower. Swedish rules are not totally clear and there are differences between different places in the country.
In Skurup where I live I do not have to have any permission at all IF the tower is ìsmallî and only used by one household. After some contacts with the city this was cleared and all agreed that this is a ìsmallî tower. To be sure, and not get any claims later, I also contacted my two closest neighbours and they also agreed to a 15m tower. After all these two neighbours will probably see more of my tower than I will...
Wind forces
It's important to make calculations so the tower will be able to handle the wind forces at the sight, ie the place were the tower is mounted. Often these calculations need to know much about the concrete foundation and if you make your own, you just have to make it a little bigger than the ready-made ones to be on the safe side!
I first looked at the wind forces at my location. They clearly shows that there is no place in Sweden with higher wind forces. My house is located about 10km from the Swedish south-coast and about 75 metres above sea level. (The house is nearly at the midpoint of this hilltop something my wife didn't understood when we were out looking at the place. I just wasn't interested in some of the other houses for sale...) The tower is placed in my garden but less than 15m, ie the tower-height, from the boarders of my garden in some directions. To be really sure that nobody outside my garden will be hurt in some way I have oversized the concrete foundation and it should be so big that there is no question about this if anything happens.
I found much information in the datasheets from Wibe, a towermanufacturer in Sweden, (search for Wibe and towers).
One often see pictures were people tries to have others feeling sorry for their microscopic towers cracked with an enormous, often very expensive, antenna mounted on top - often in bits and pieces after the crack. I personally don't have anything left for these guys, after all their bad installations are only a big threat to others nearby! It's important to put thoughts in the installation and think through the hole thing thoroughly.
Preparations
Now I began digging. In the beginning it's not difficult to use a normal shuffle but after a while the hole gets deep and there is not room for the shuffle. I then proceed with a much smaller shuffle and this takes time!
A 15m tower will need a lot of concrete so the hole must be rather big if you don't want to get it down in hard weather. I decided to dig about 2m. The hole is much larger at the lower base than up at the ground-level and is triangular. At ground-level the width is about 1m and at the lower base-level it's nearly 1,5m. In total I have used about 1,5cubic metre of concrete for the tower-base and I think that the total weight is about 3 tones.
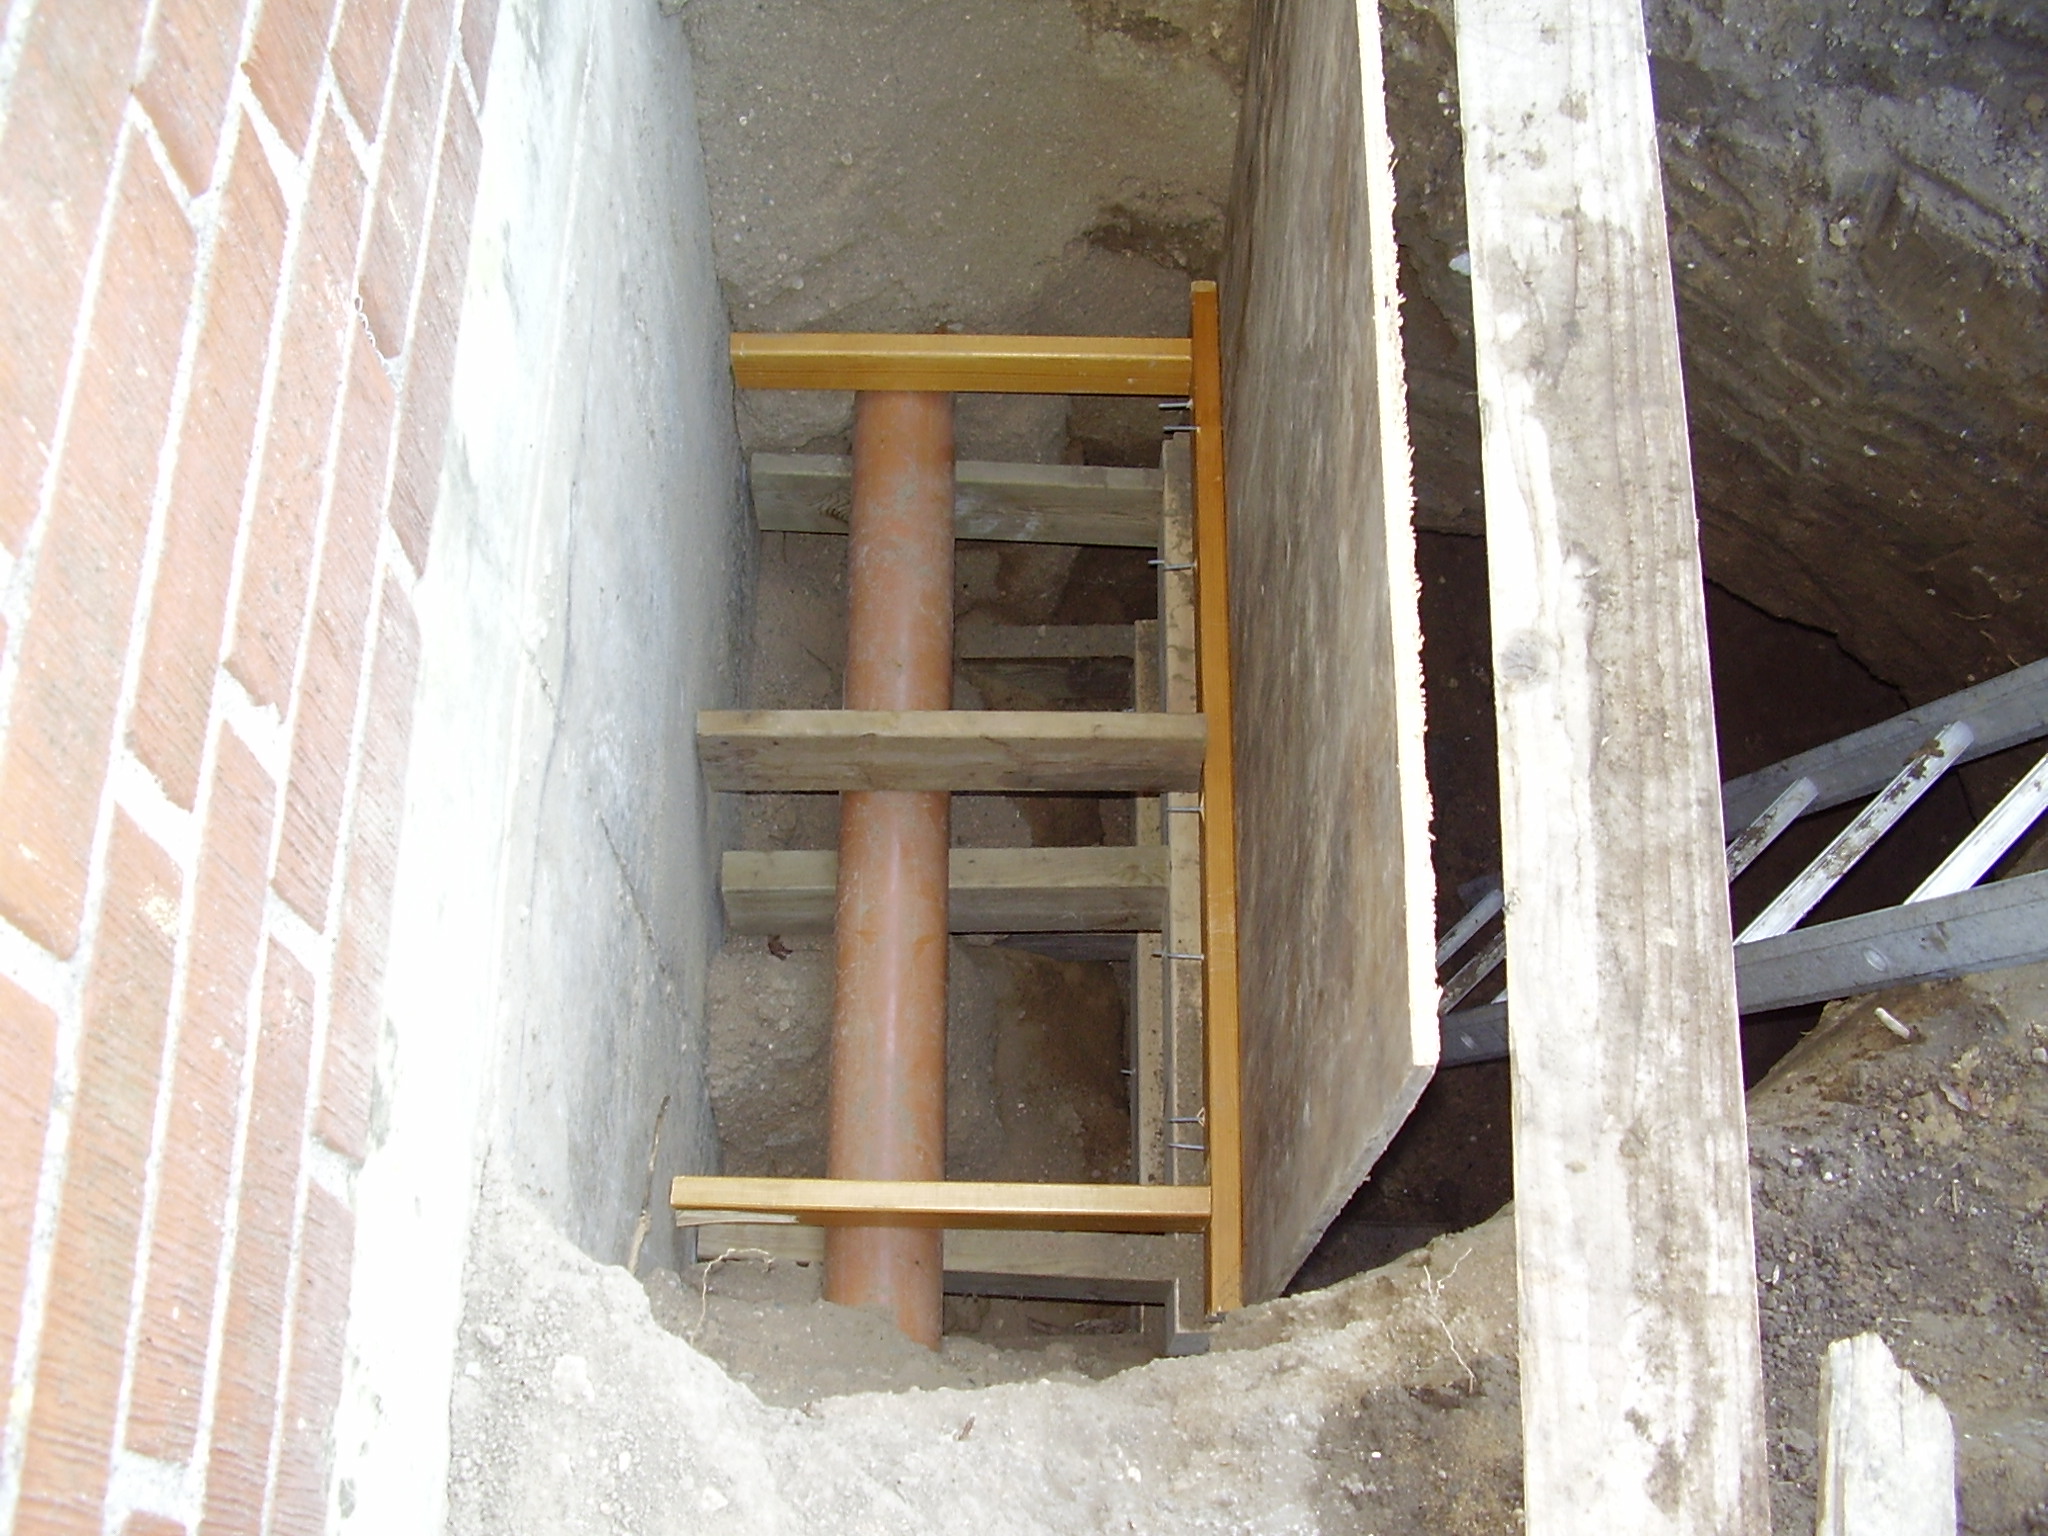
The tower is placed very near my house and to prevent the concrete to get to my house I put plywood between the house and were the concrete will be later, see picture. This plywood is helped in place by wood parts since the plywood never will be able to handle the force from the concrete alone! The three tones of concrete will put an enormous pressure on the plywood, especially at the bottom of the hole! In the corners I placed plastic to secure the concrete from penetrating between the plywood and the mud. (The brown tube on the picture was there from the beginning and carries rainwater from my roof.)
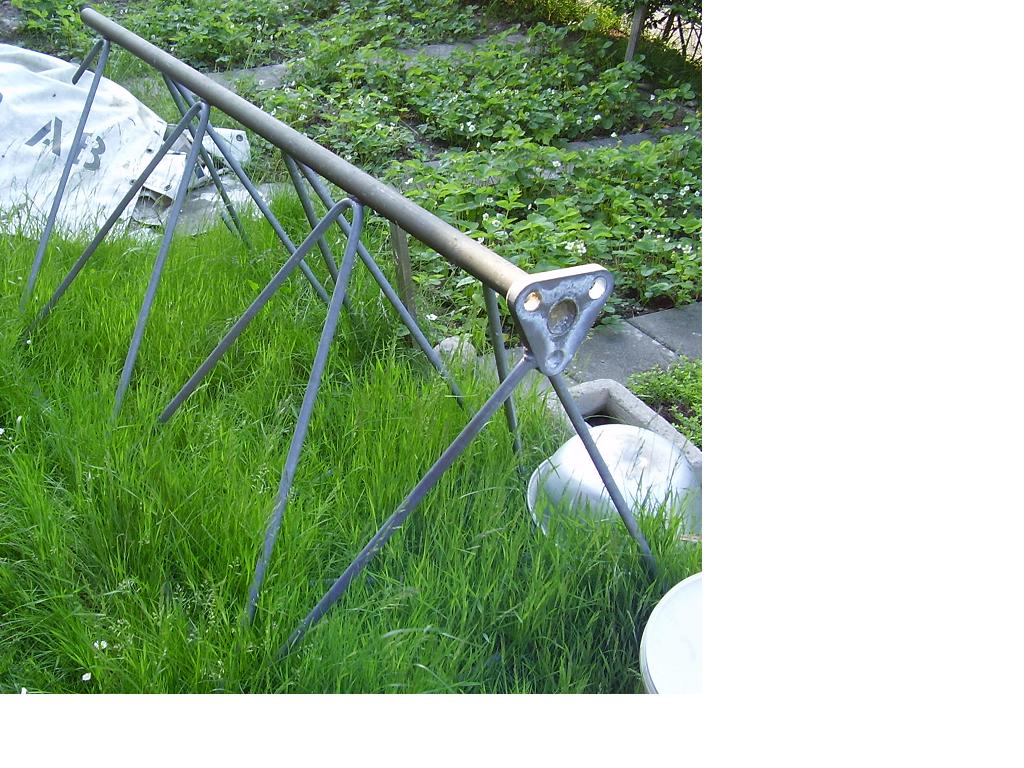
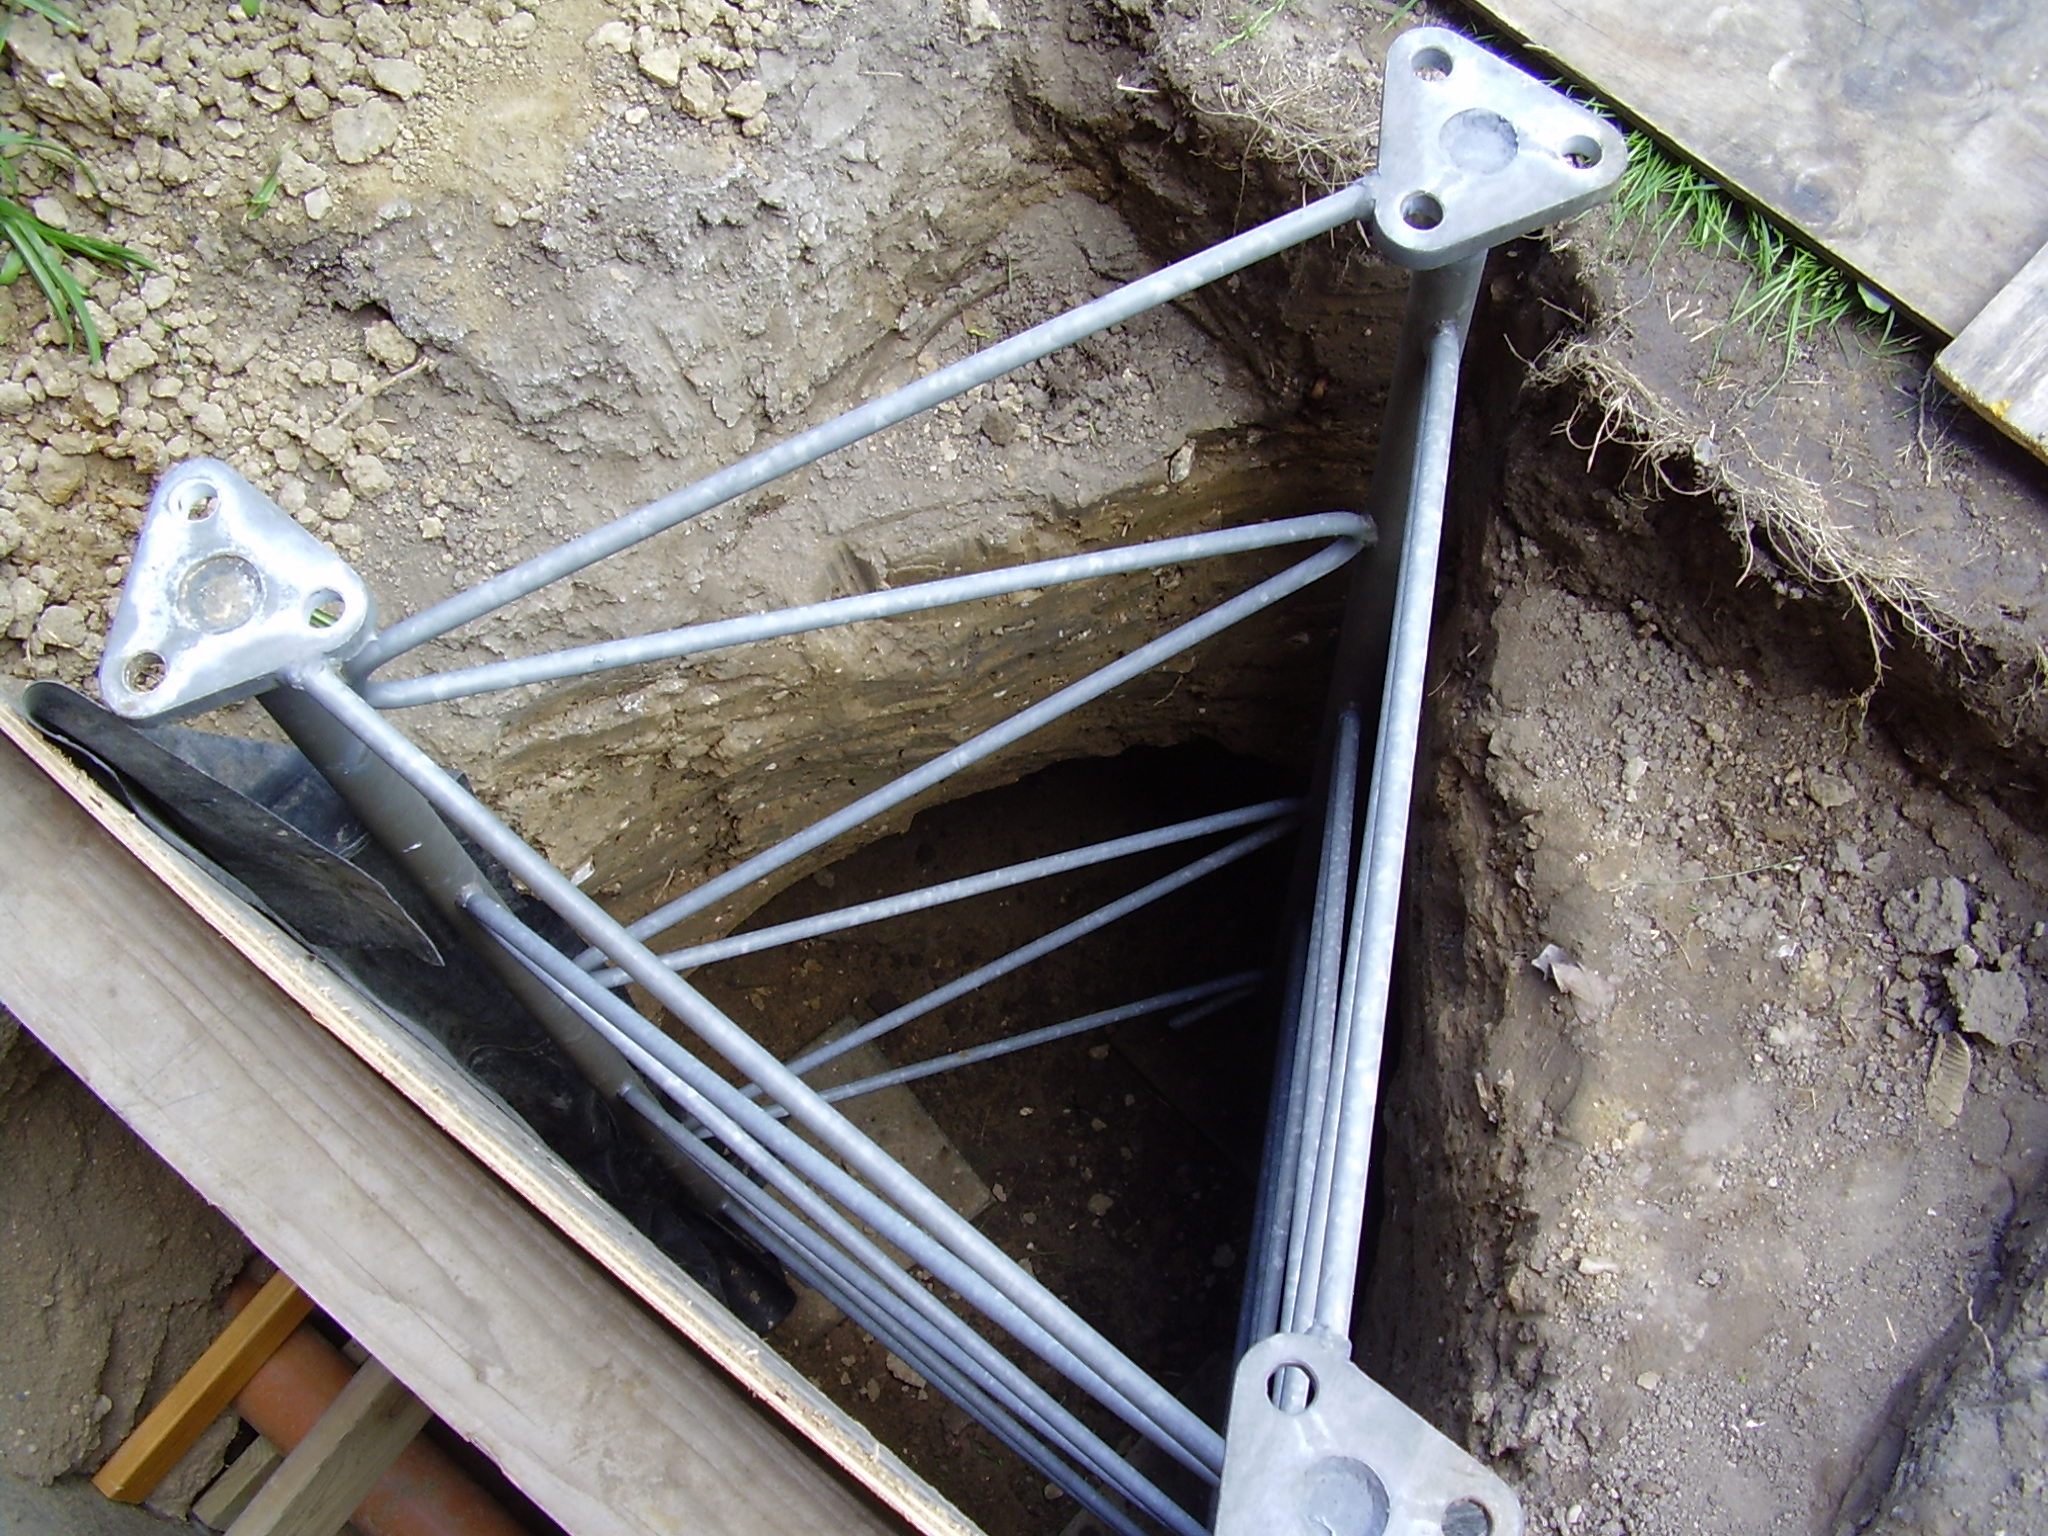
I didn't got any specification or drawings on the tower, but I got three parts each 7,5m long. I took the lowest part and cut it in a 2m length. In this way I got a flange at the ground surface fitting the rest of the tower. This first part of the tower was put on concrete discs and levelled carefully before I put any concrete in the hole.
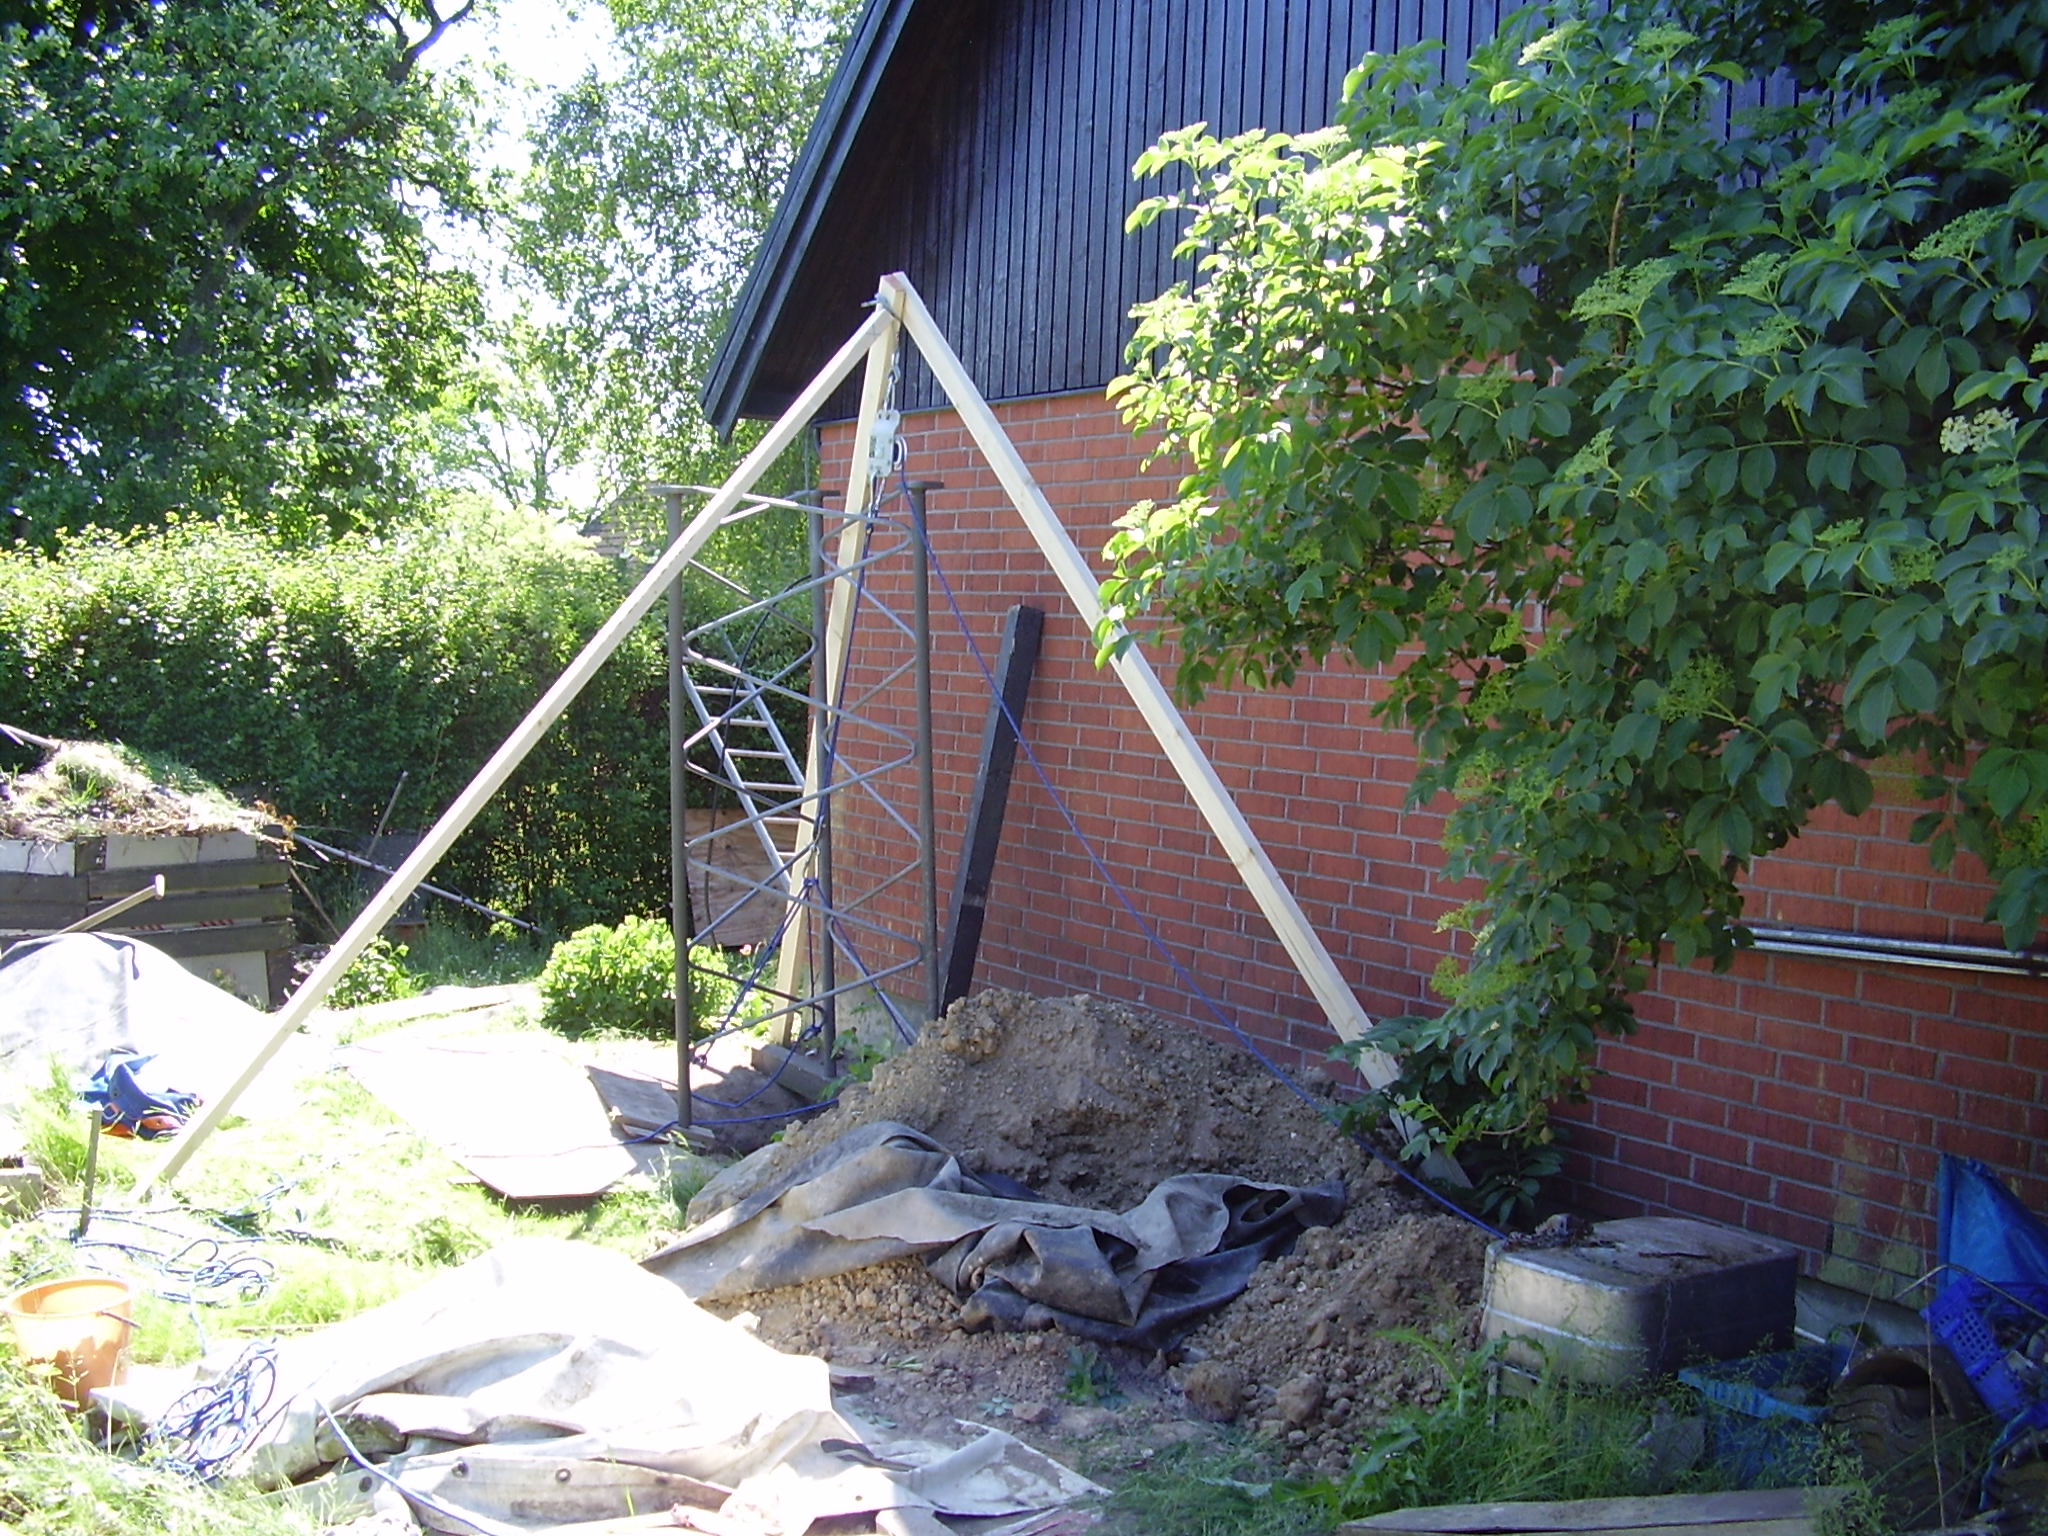
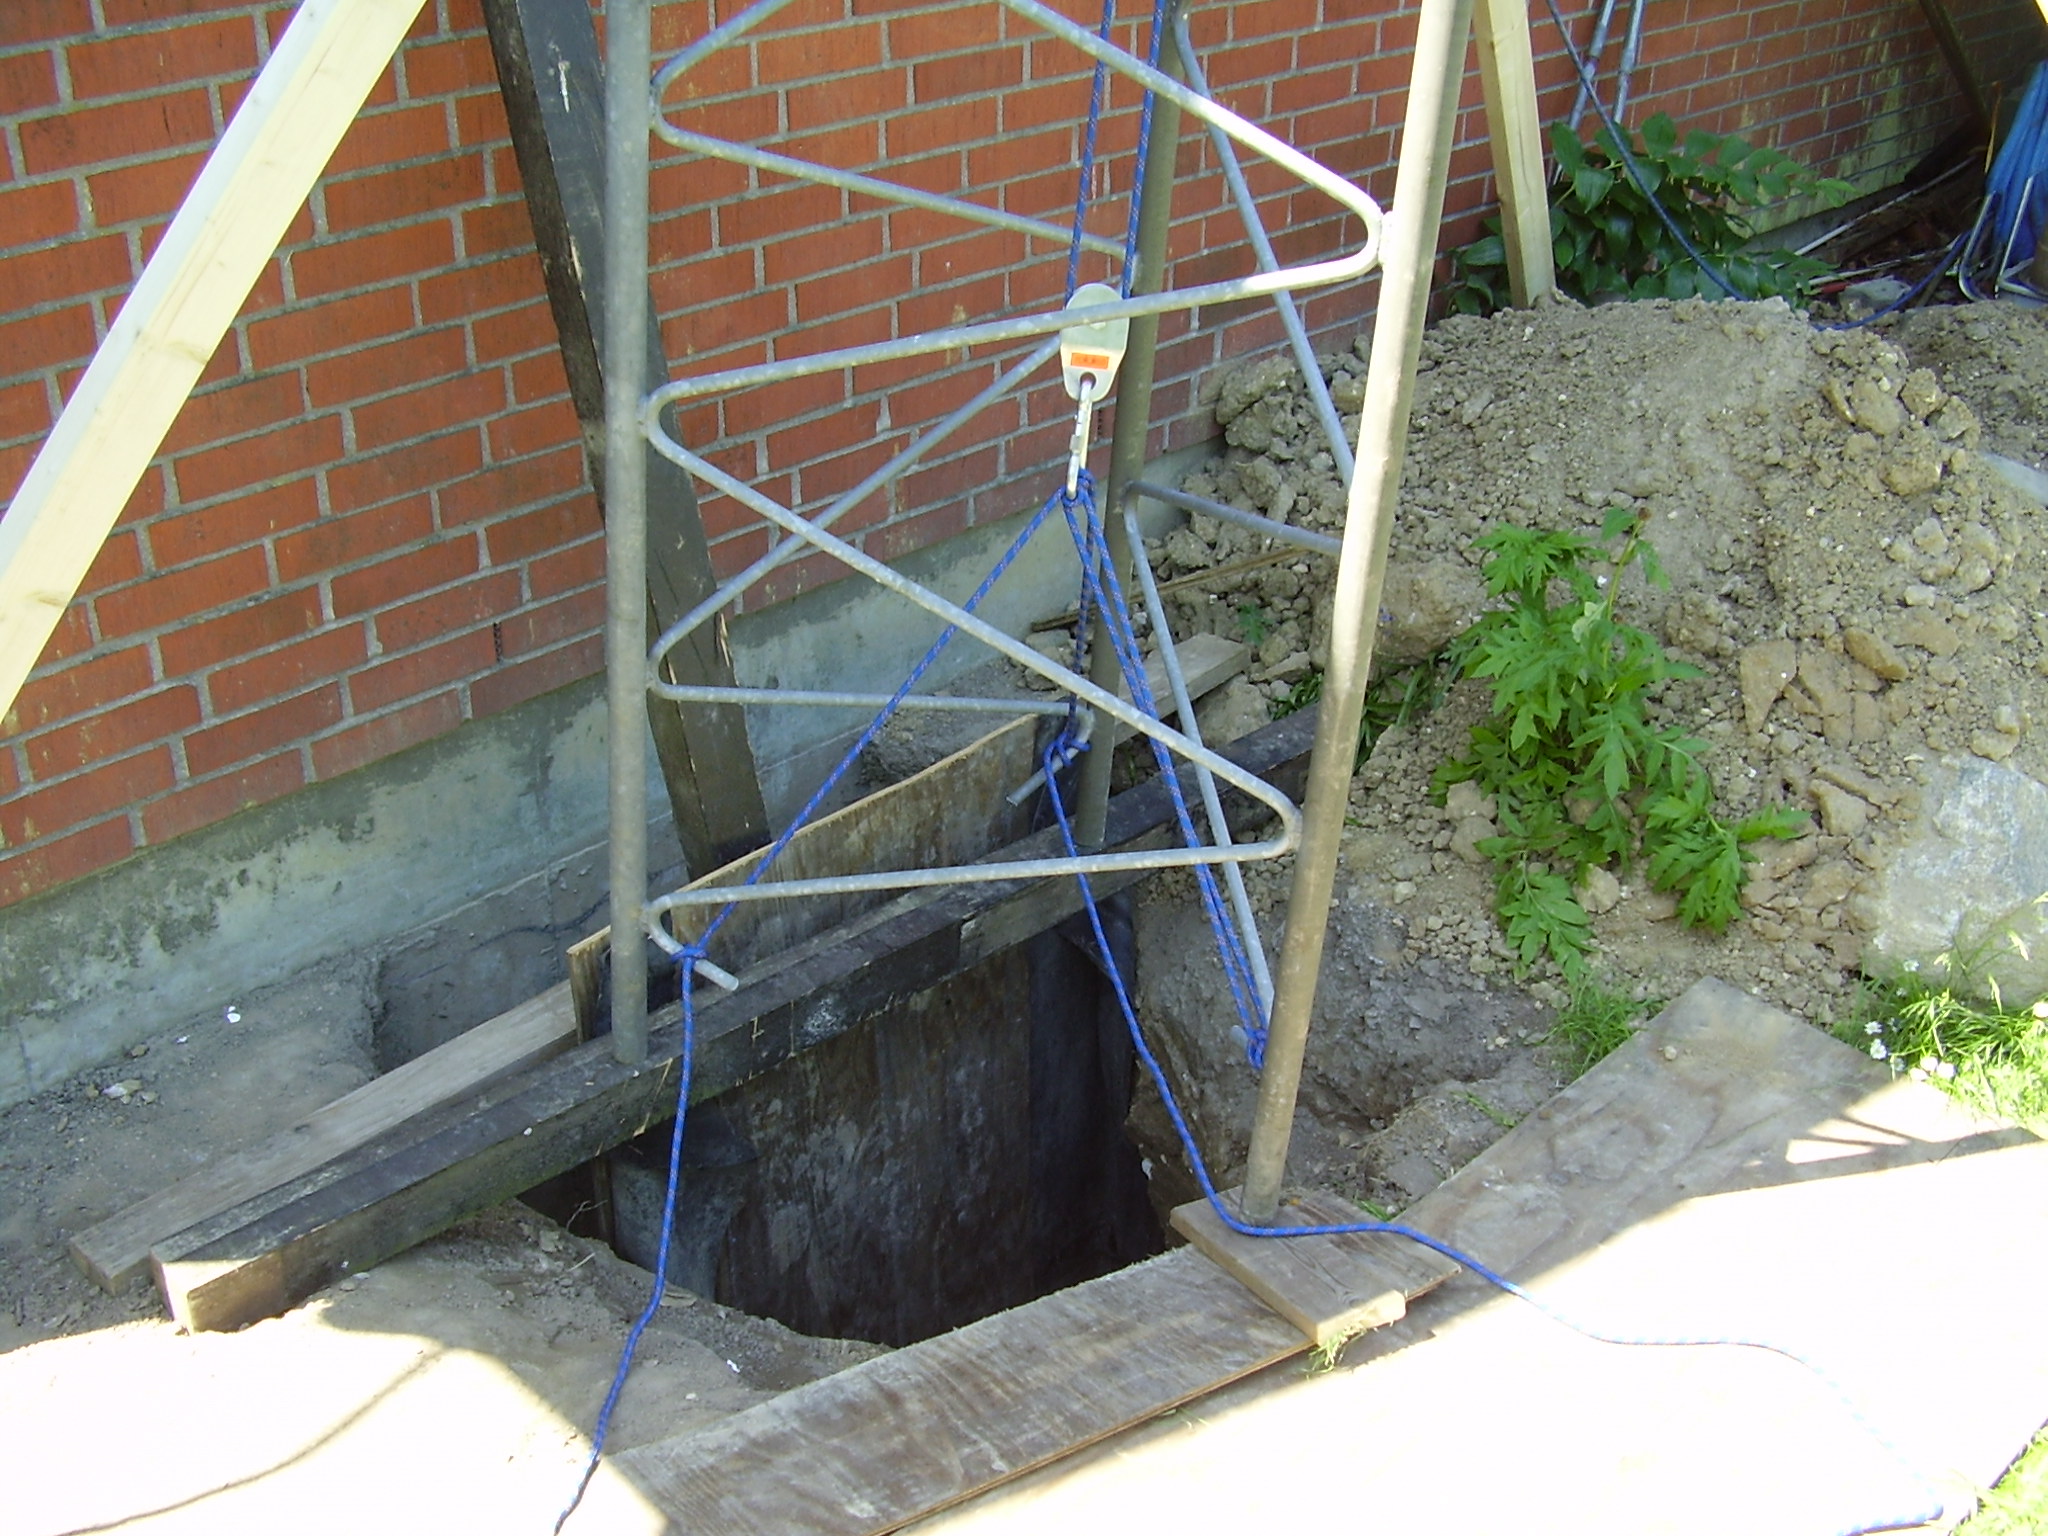
Here is just before we take the lower part down into the hole, this show how I fastened the tower-part with the rope. The tower-part is quite heavy ñ I think about 80-100kg. Here the lower part is safely down in the hole.
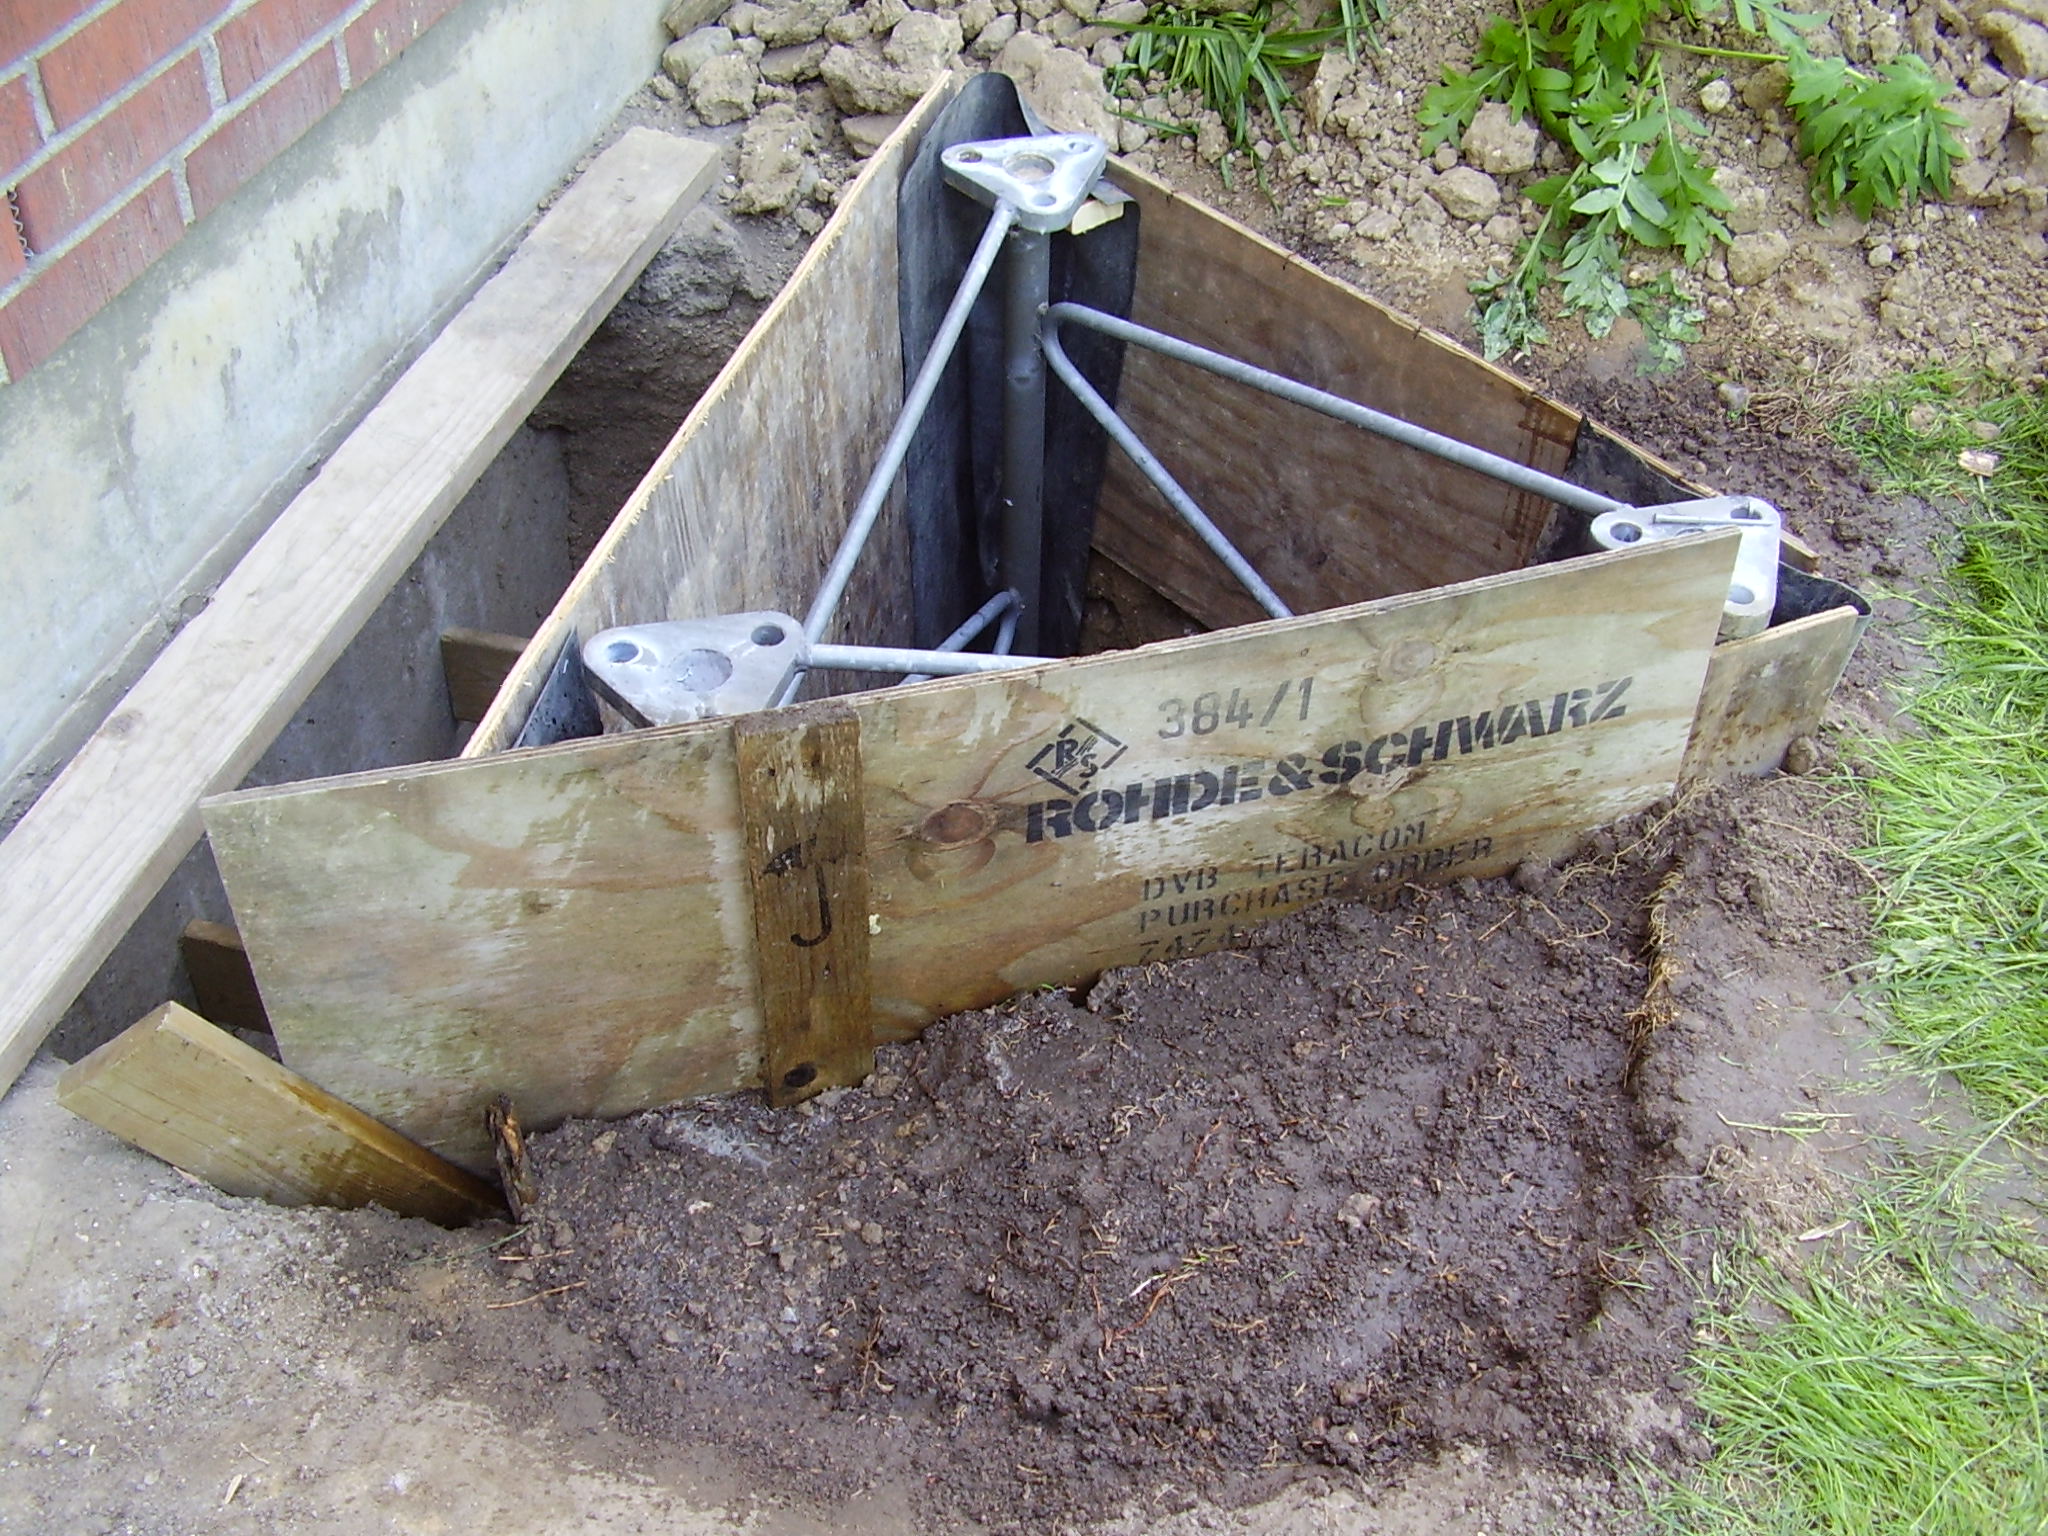
I wanted to get concrete just above the normal ground-level and therefore I made a form by plywood but just in this upper area. All three corners have plastic to prevent the concrete to get through between the plywood. The printing on the plywood doesn't mean that R&S has supplied me in any way, more to show that many things can be used several times... One doesn't have to buy special plywood for concrete!
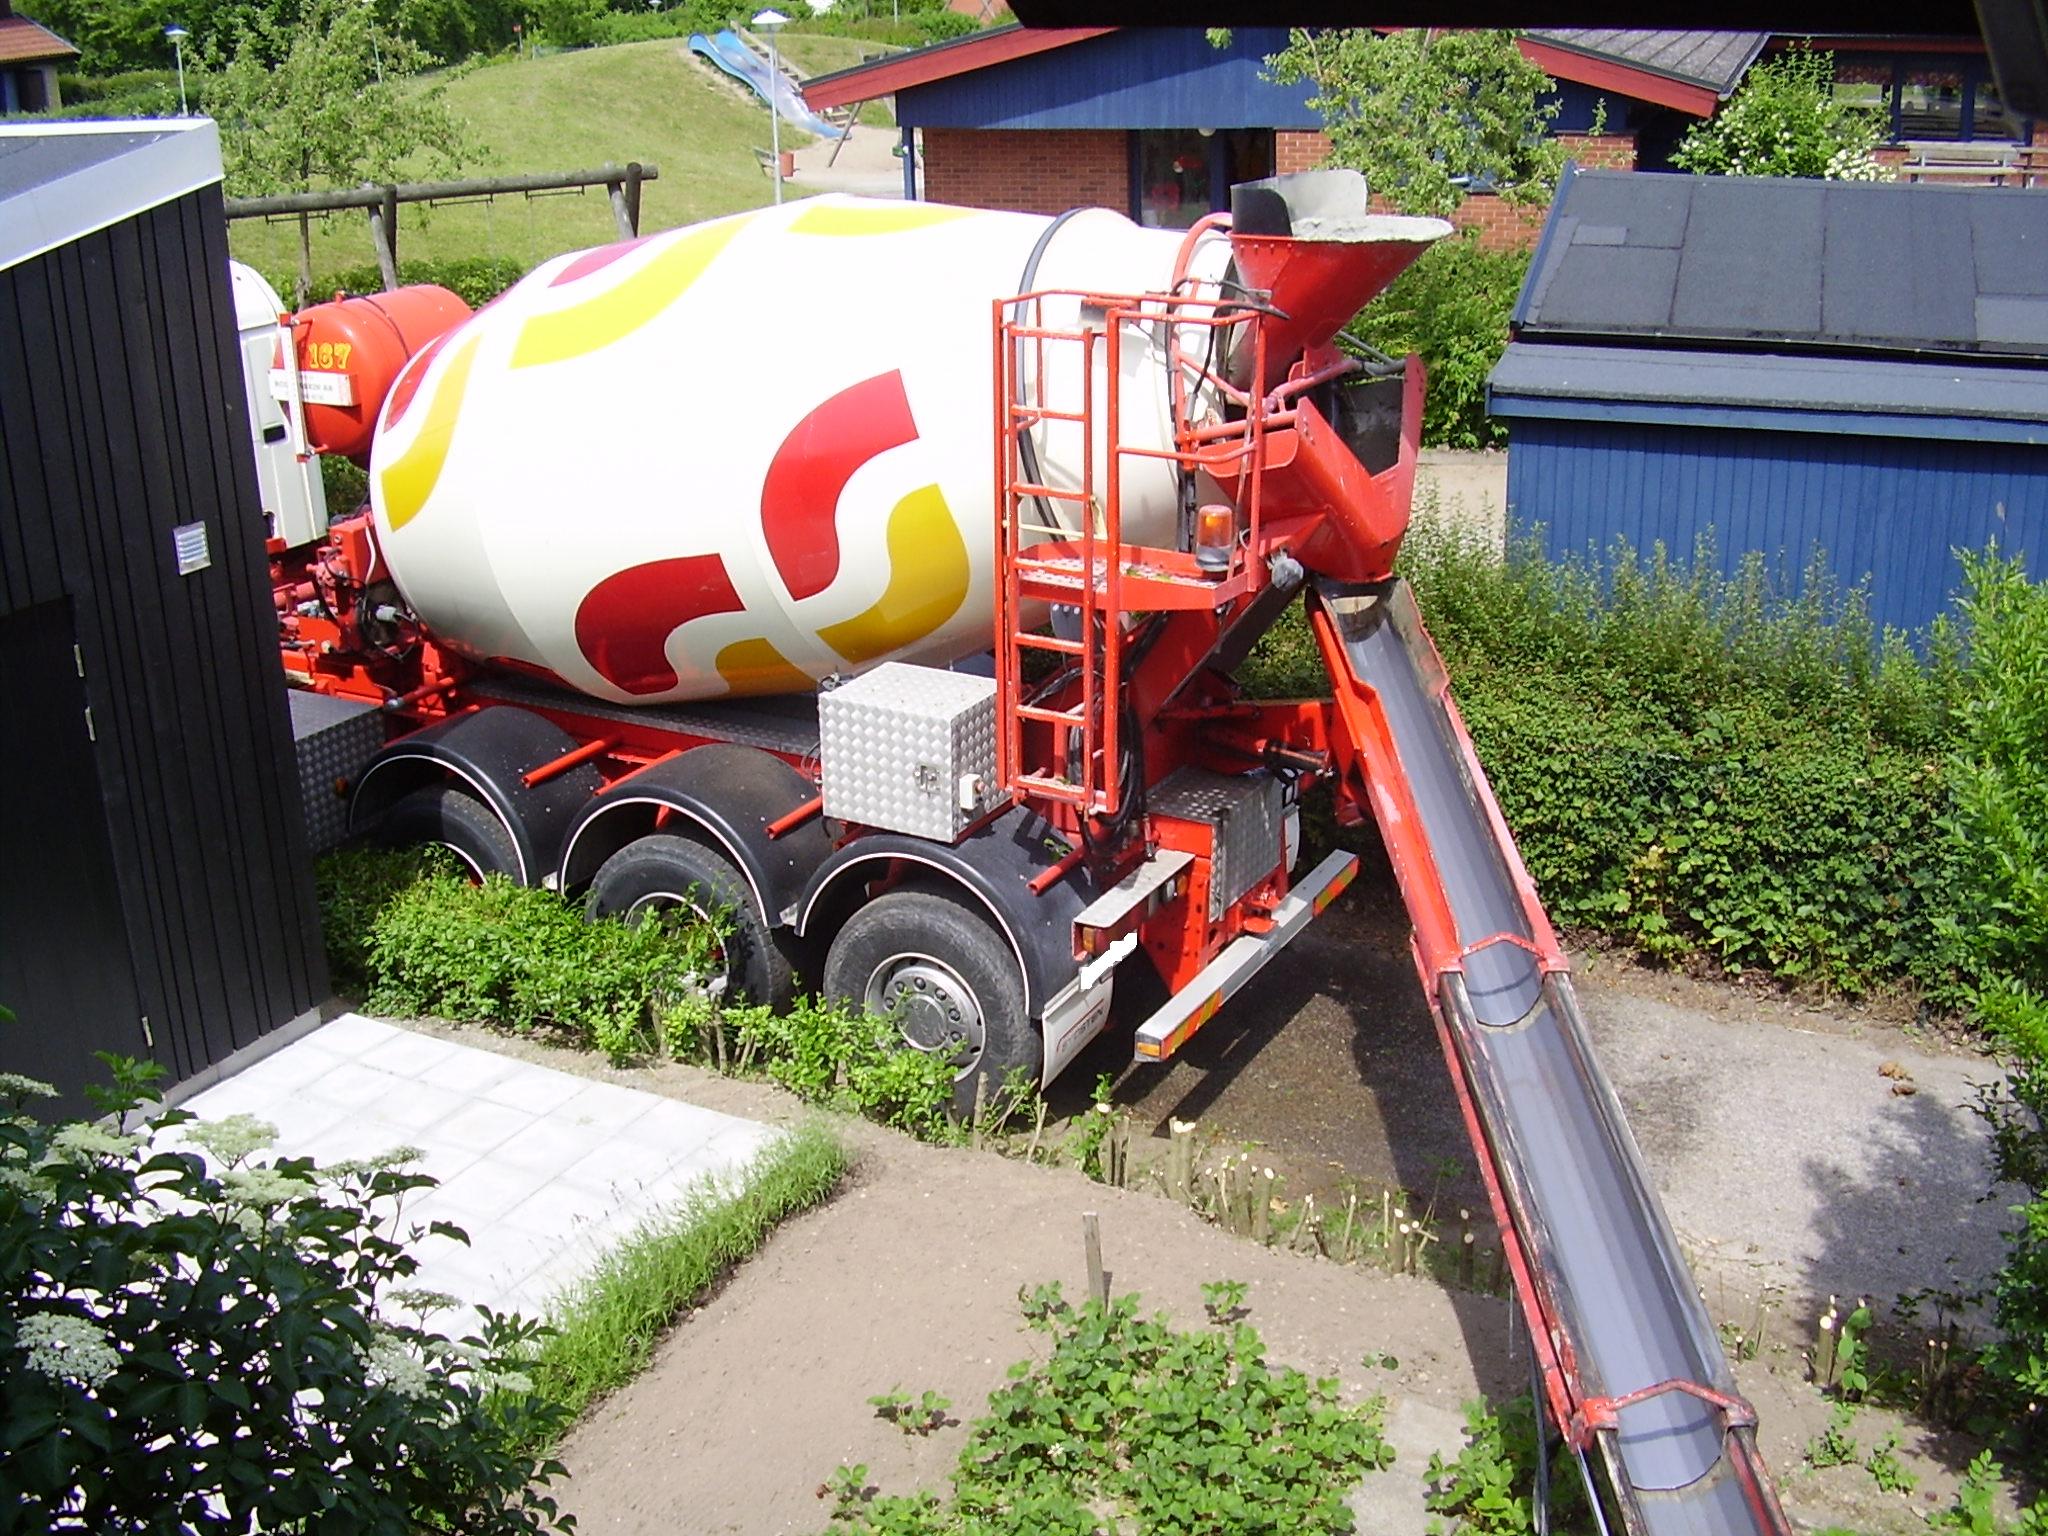
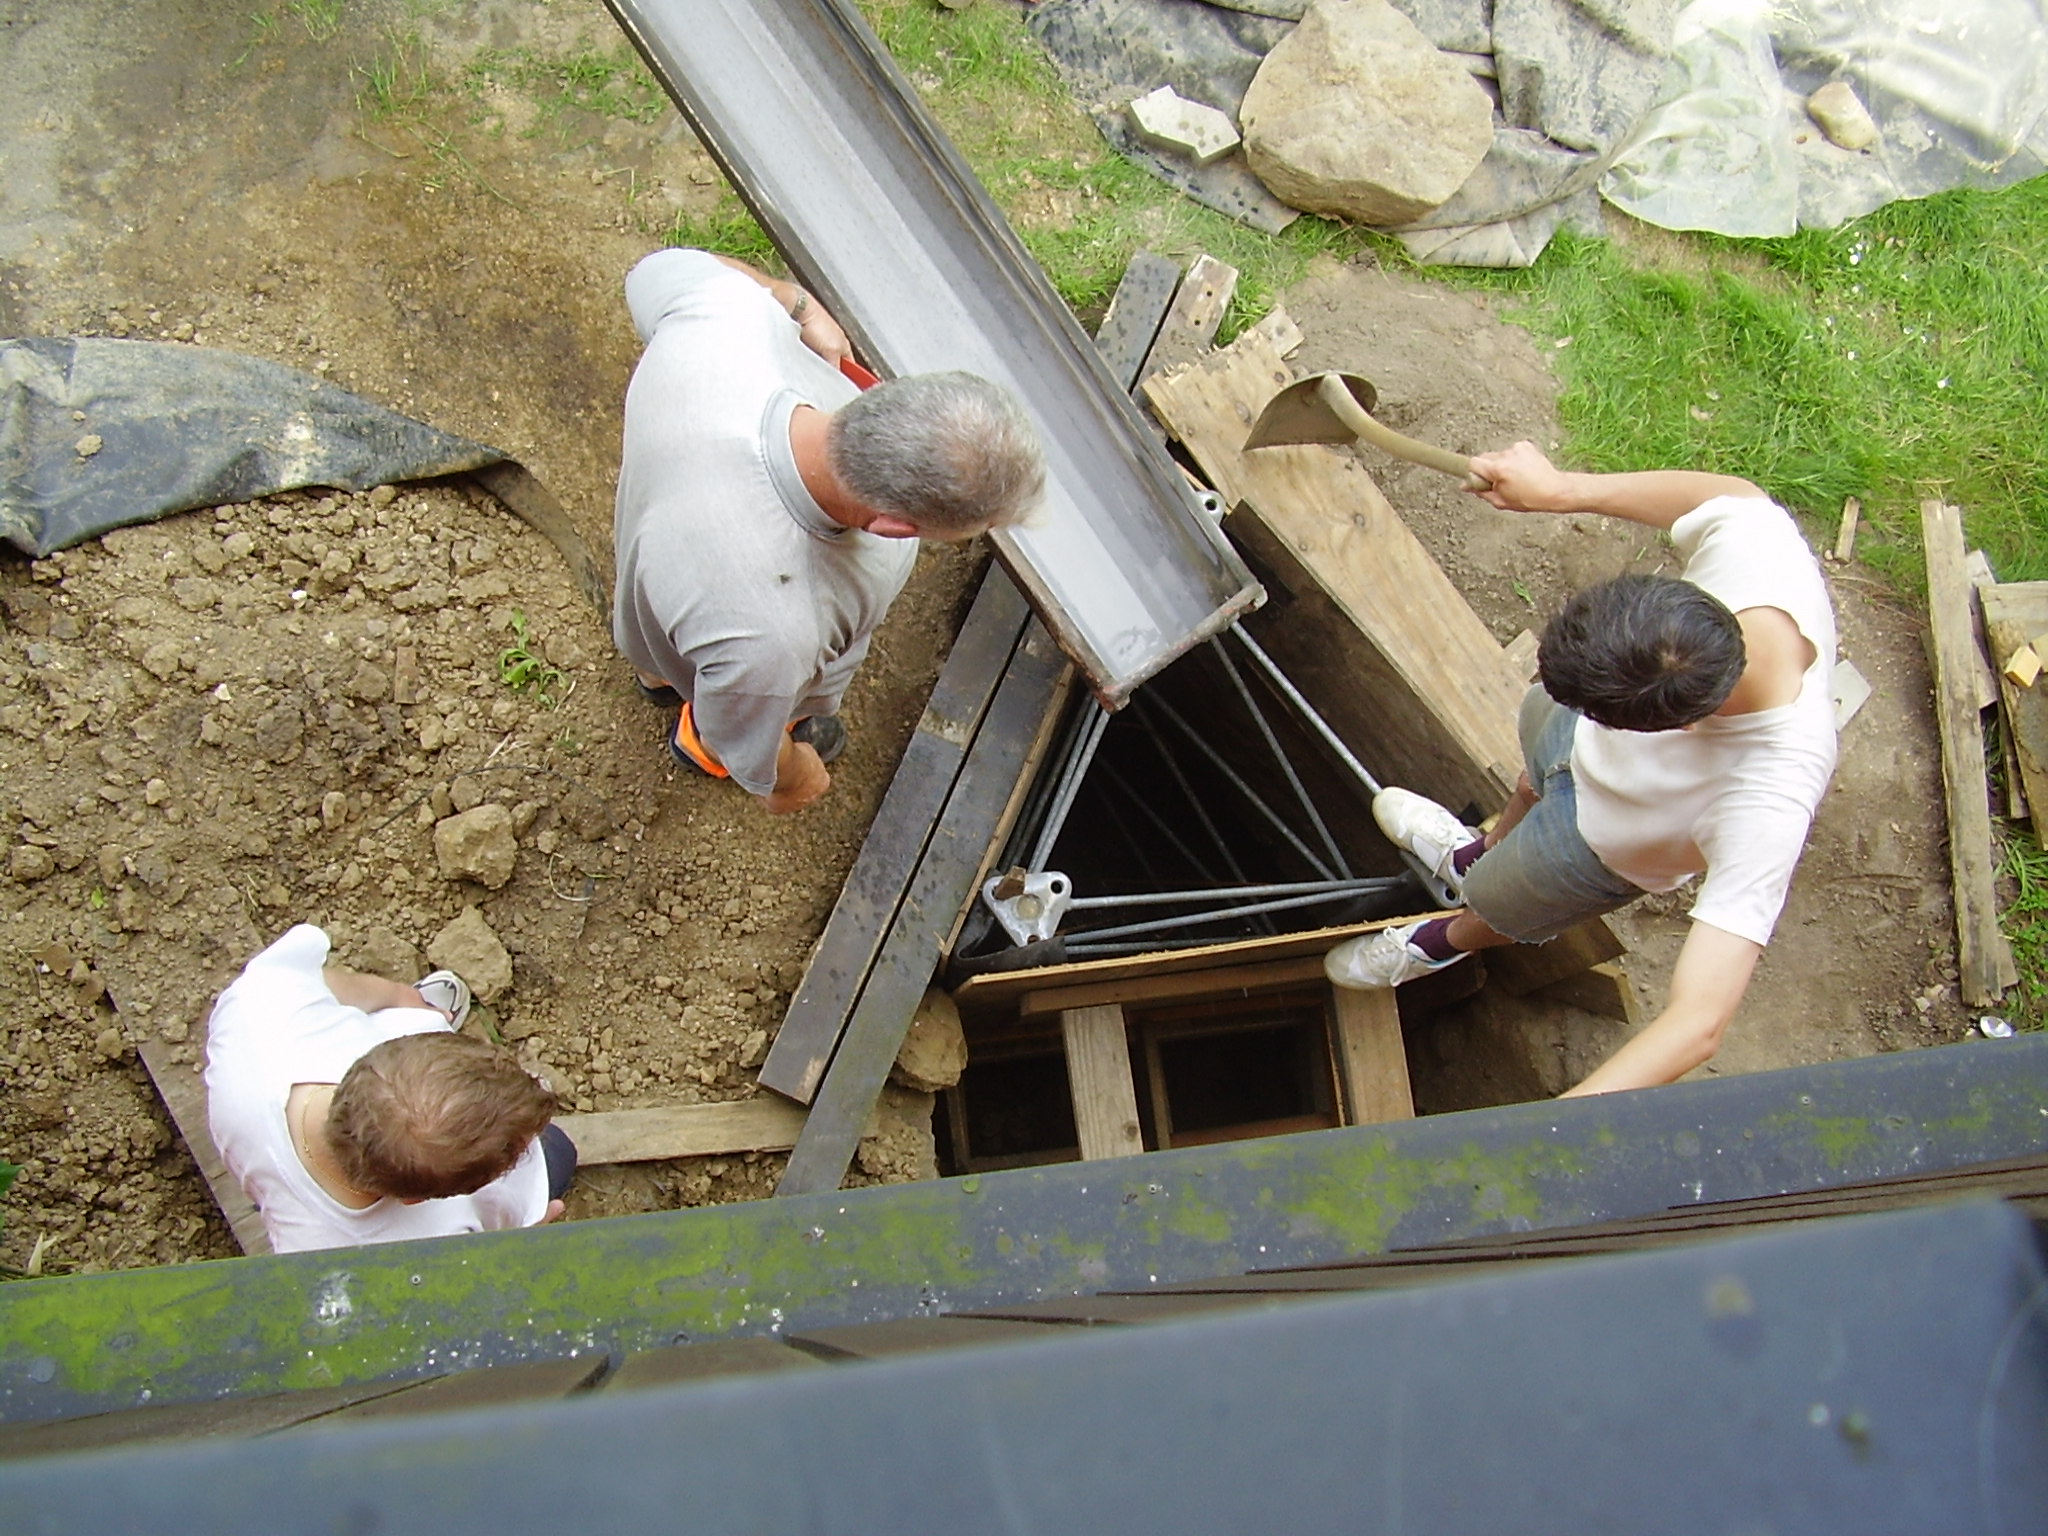
Now the setup is ready for concrete delivery! I were really lucky, when I called to buy the concrete they said that they would not be able to get close enough to my hole. Quickly I were out measuring the surroundings and after some more calls they said that I had to be prepared to handle the concrete by hand! I called SM7XEN, Henrik, and he agreed to help ñ thanks!
Soon the truck came and got in position. In just less than half an hour I got all three tones into the hole, and we didn't have to carry a single kilo of concrete ñ lucky for us, and our backs...
Tower mounting
It was mid winter, the 12 th of December 2005. Late in the evening the two tower-pieces arrived with a large lorry. Unfortunately it was too dark to take any pictures.
The two pieces were hold together by the lorry-crane, one laid on the lorry and the other one were hold by the crane, and we bolted them together. The crane then put the tower in place and the remaining bolts were mounted.
The tower is held in place by nine M24-bolts, and the two tower-parts are held together with six M24-bolts. These bolts are spanned with 550Nm of momentum and the spanner is 36mm across flats. To get this high momentum I used a special gearbox producing 5times the momentum at the price of turning the spanner 5 times the normal way. To be sure about the momentum I also put grease on the screws. This decreases the momentum needed by a factor of 0,7.
Finally my tower is in position, at this point the project had run for about two years...
Rotator mounting
Rotator maintenance is done and the rotator is ready for mounting. As mentioned in the maintenance-text I have cut out a rubber disc to be mounted between the rotator and the holding-plate. This is done to prevent corrosion between the rotator, made of aluminium, and the plate made of stainless steel.
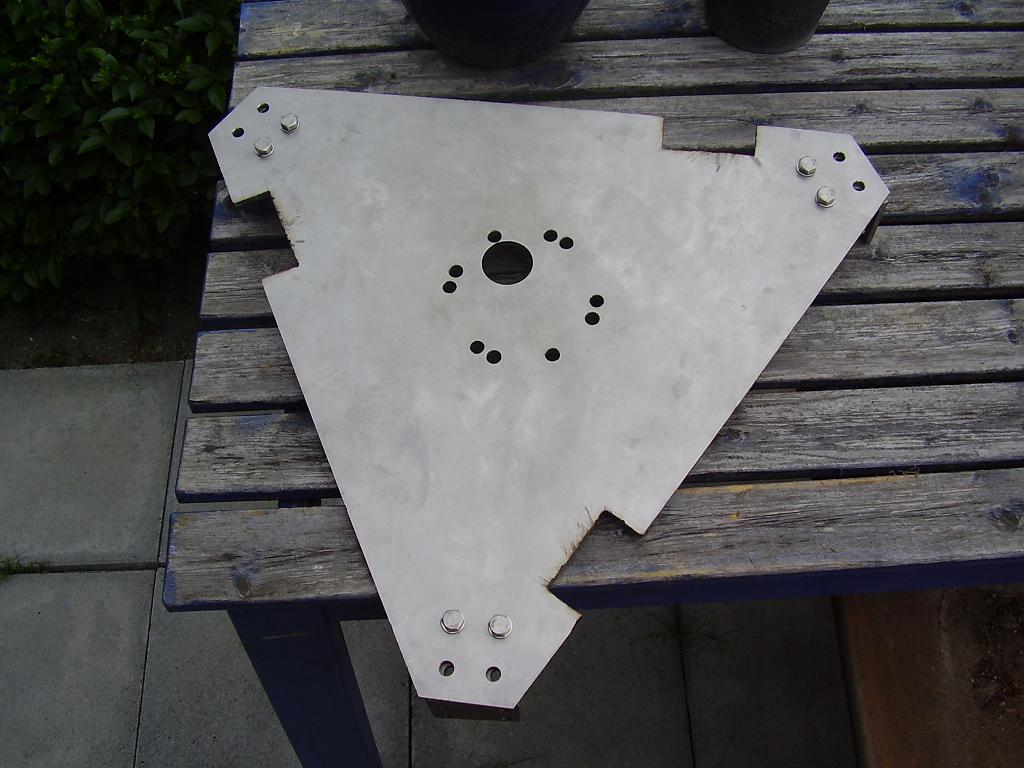
The plate is made of 6mm stainless steel and holes are made for the rotator. The large hole is for the rotator-connector.
Each corner of the plate is fastened to the tower with L-profiles also made of stainless steel. The screws holding the profiles on the plate are M8.
Each L-profile is fastened with two 32mm U-bolts on the tower. A more detailed picture of the mounting is shown here.
The plate is mounted about 2m below the tower-top.
Upper bearing
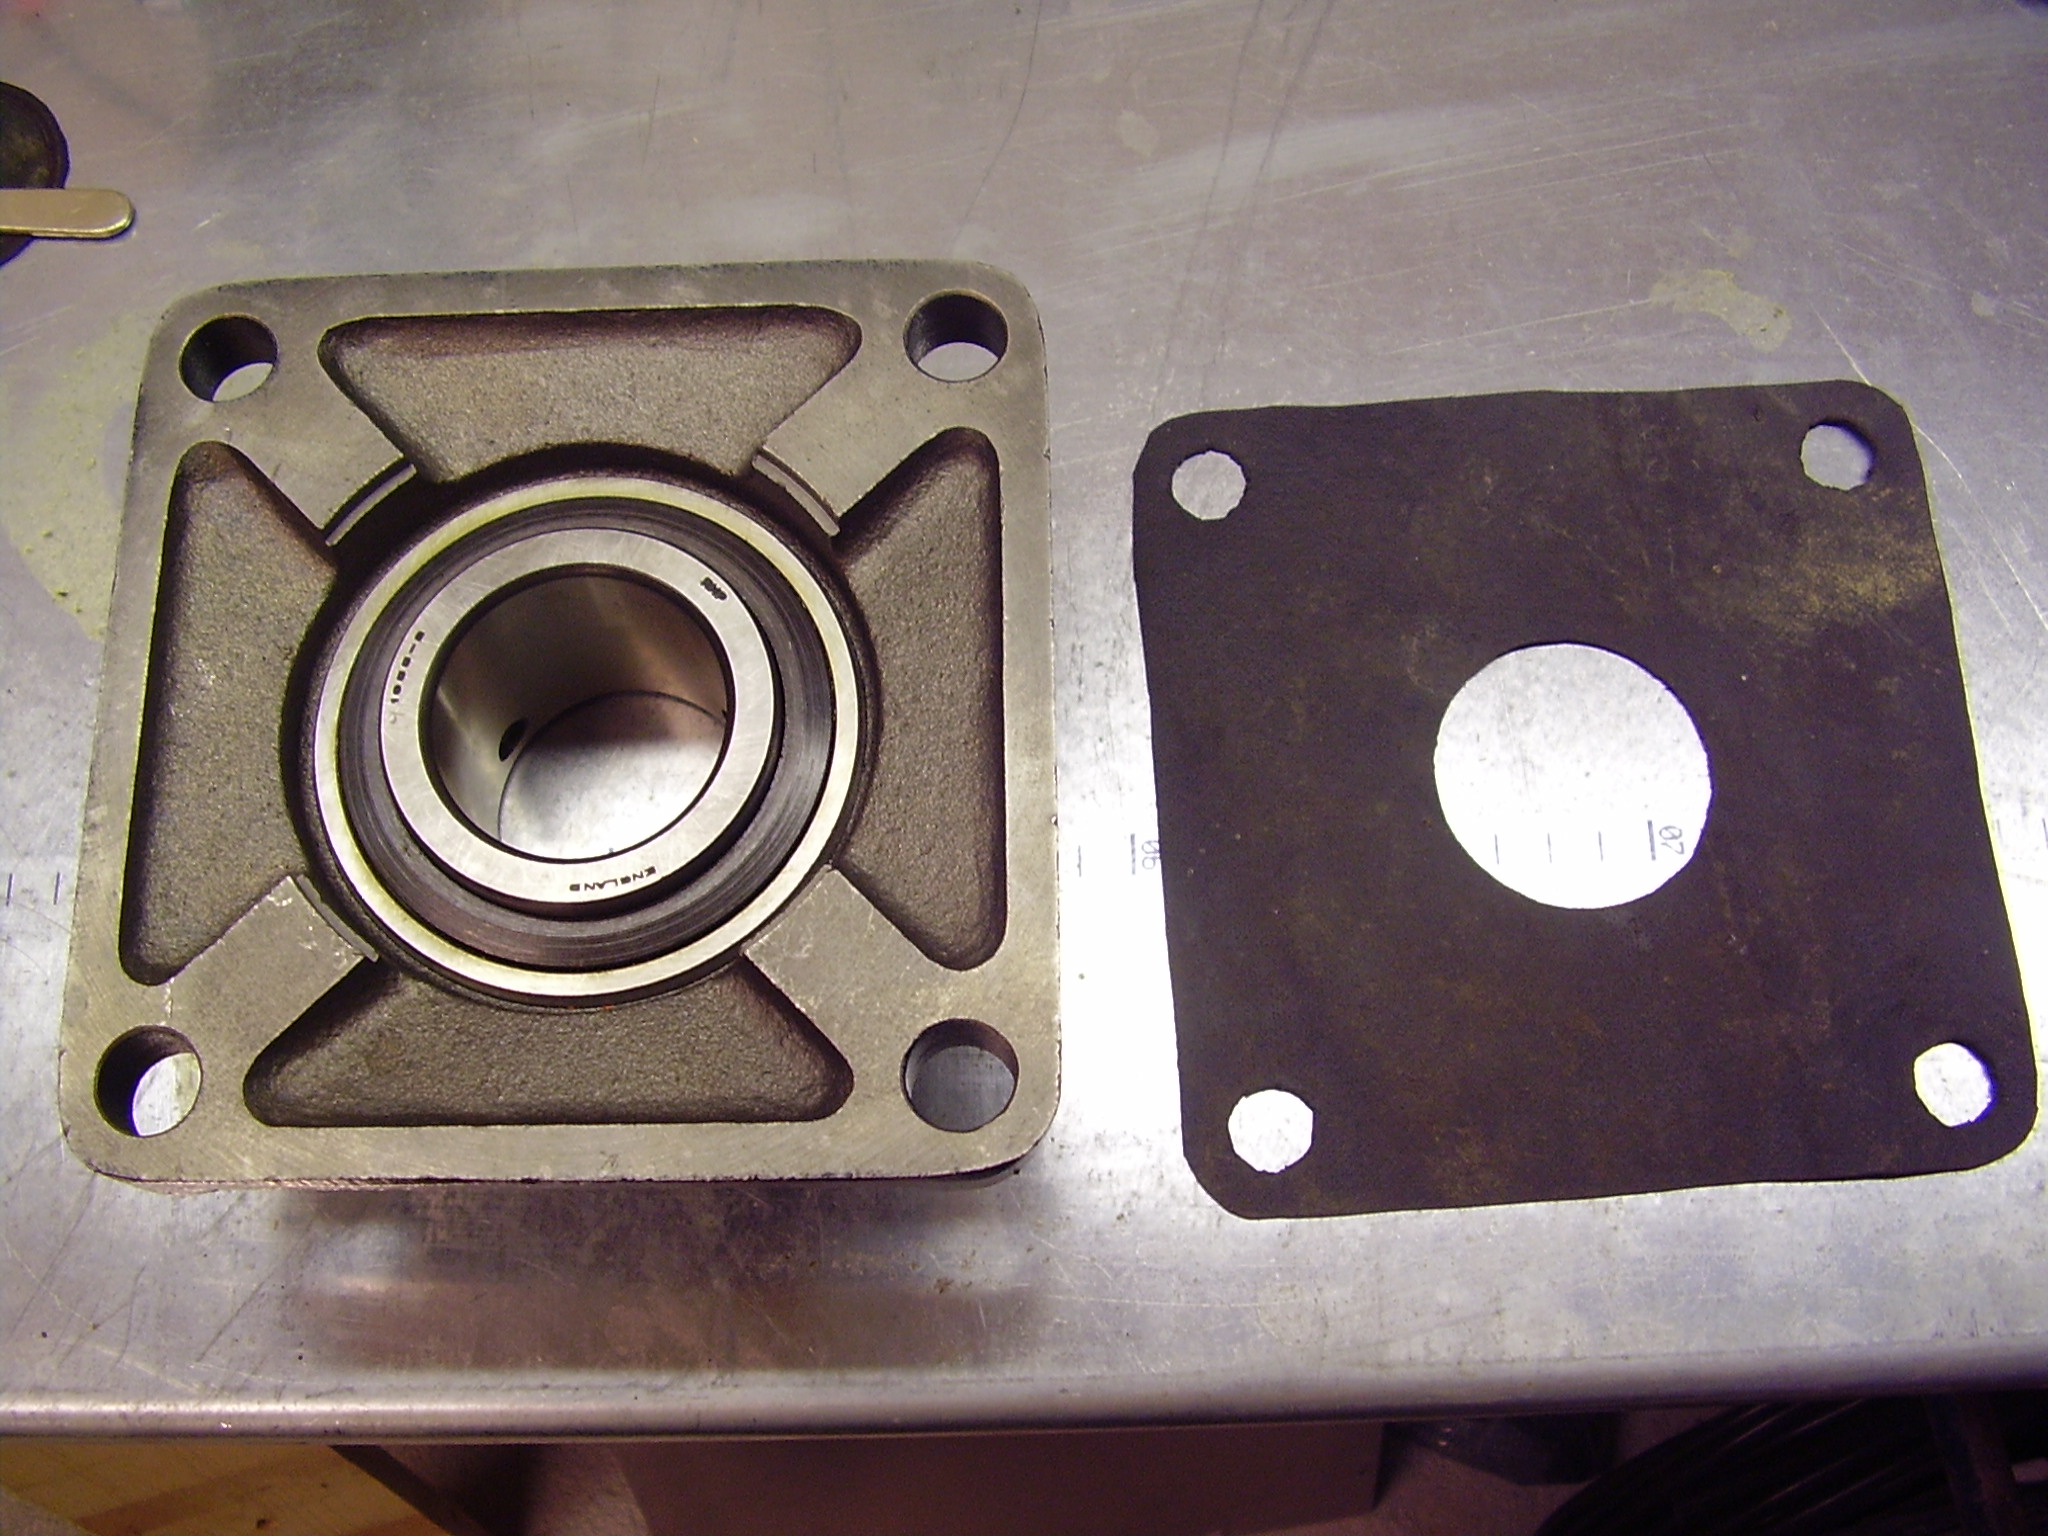
On the tower-top I have put a plate with a bearing to save the rotator from much of the mechanical stress. The bearing-plate is, as the rotator-plate, made of 6mm stainless steel and is held in place by six M20 bolts.
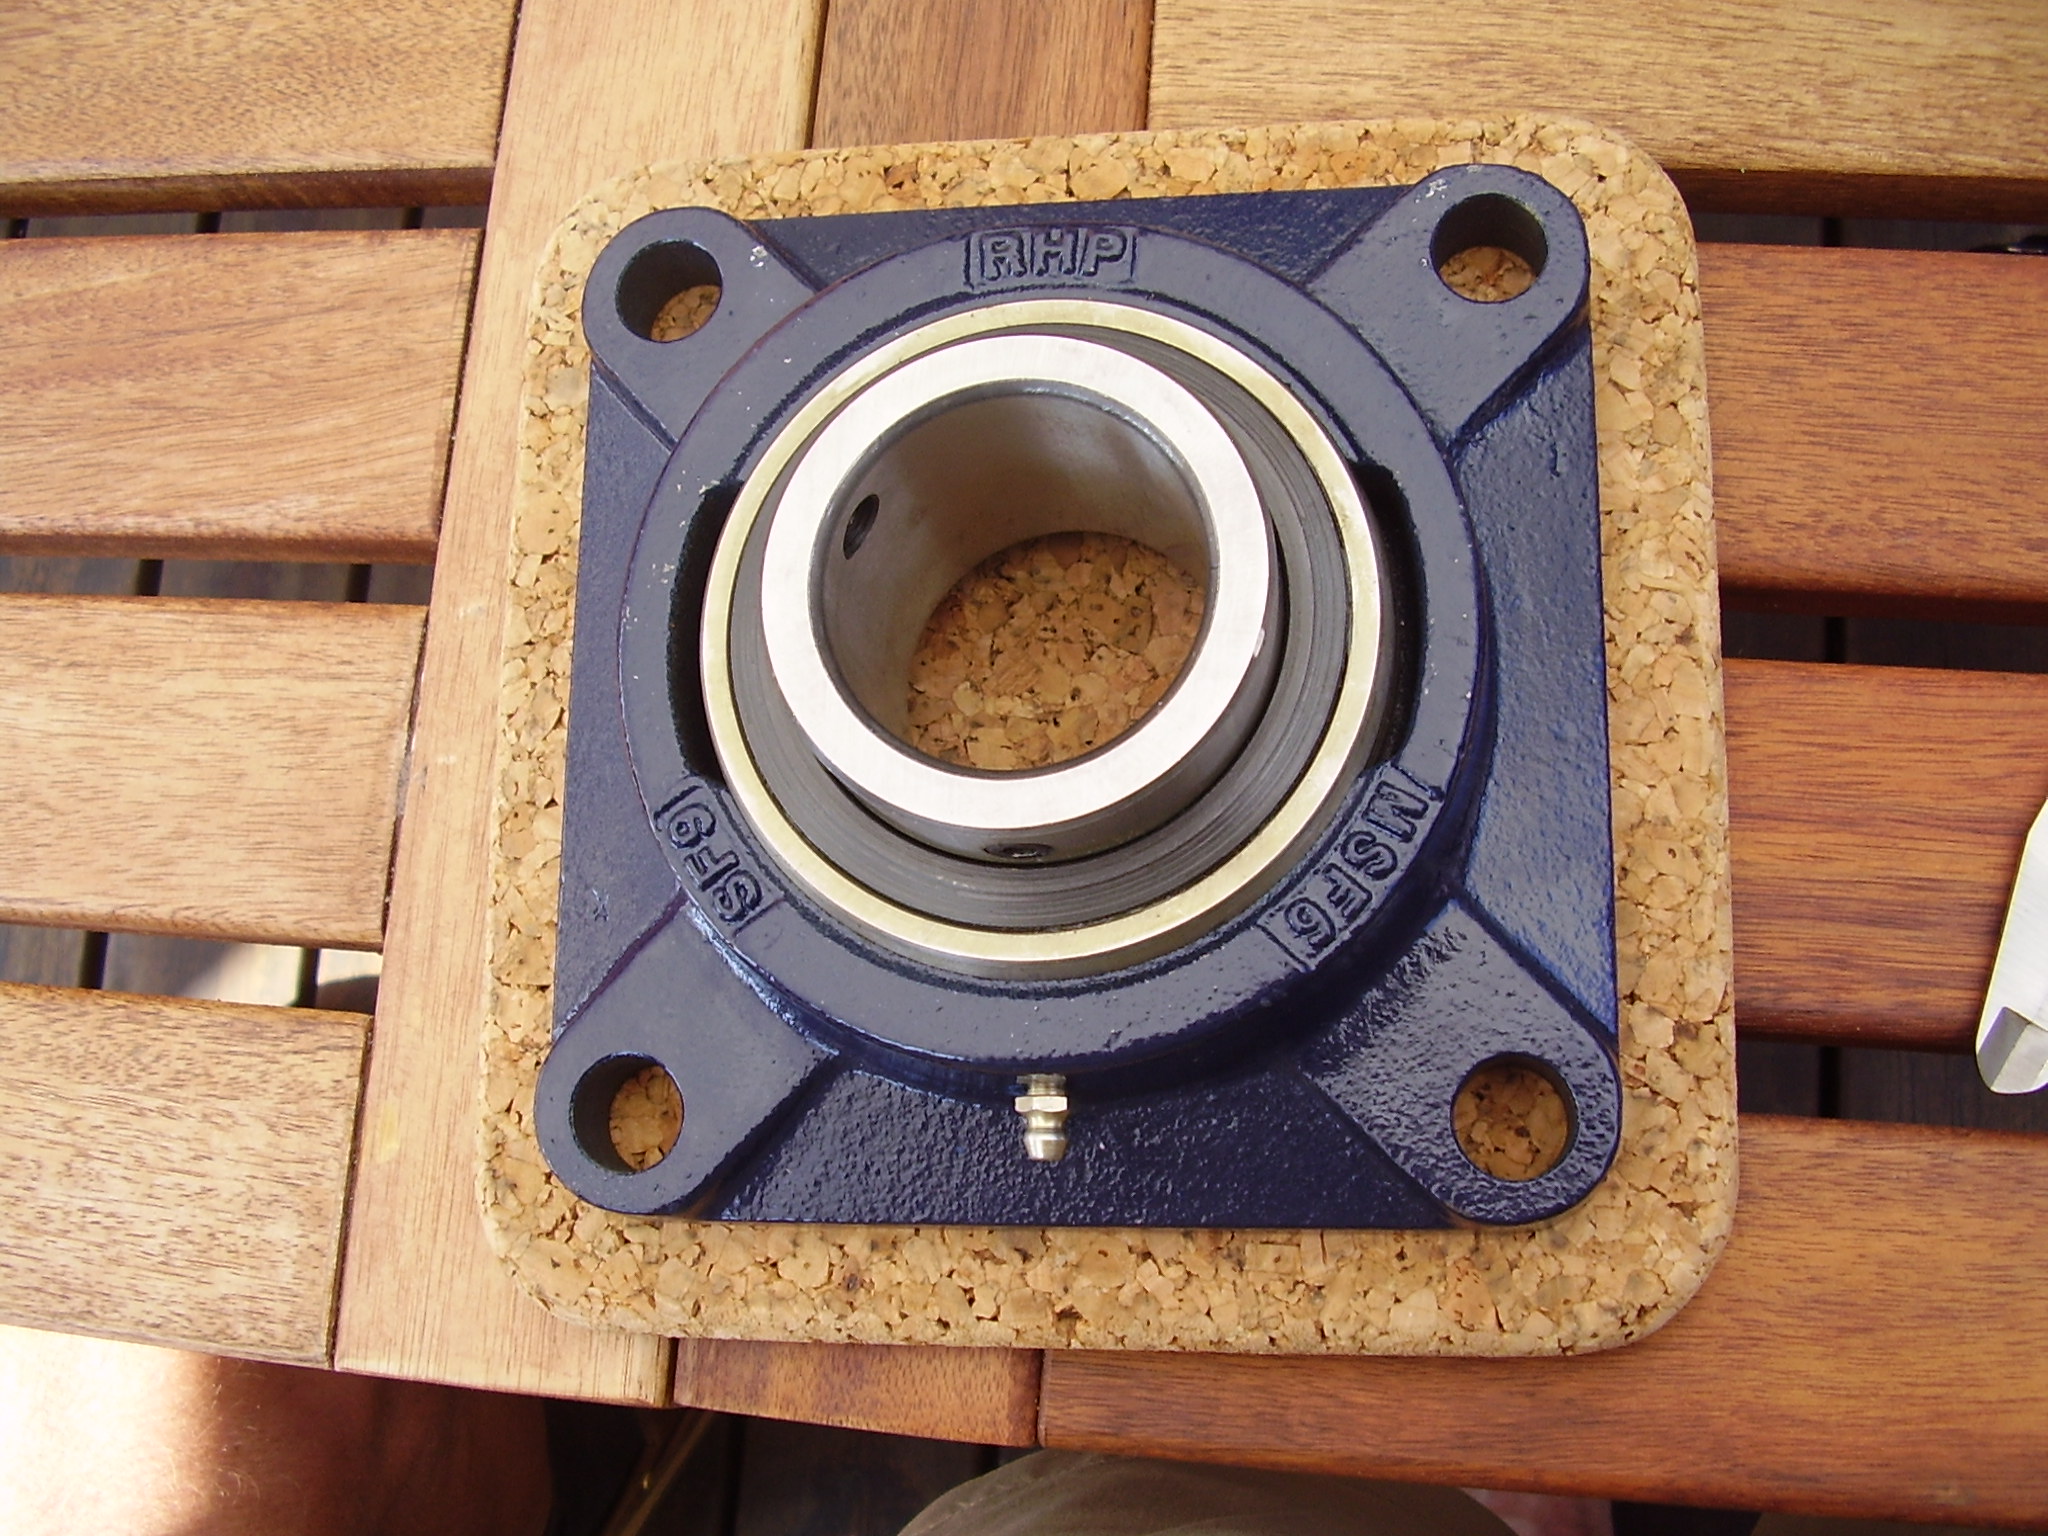
The bearing from the top-side can be seen here. This bearing is manufactured by RHP, ìSF MSFî means that it's a flange type. The mounting is made with four M16 bolts through the stainless plate.
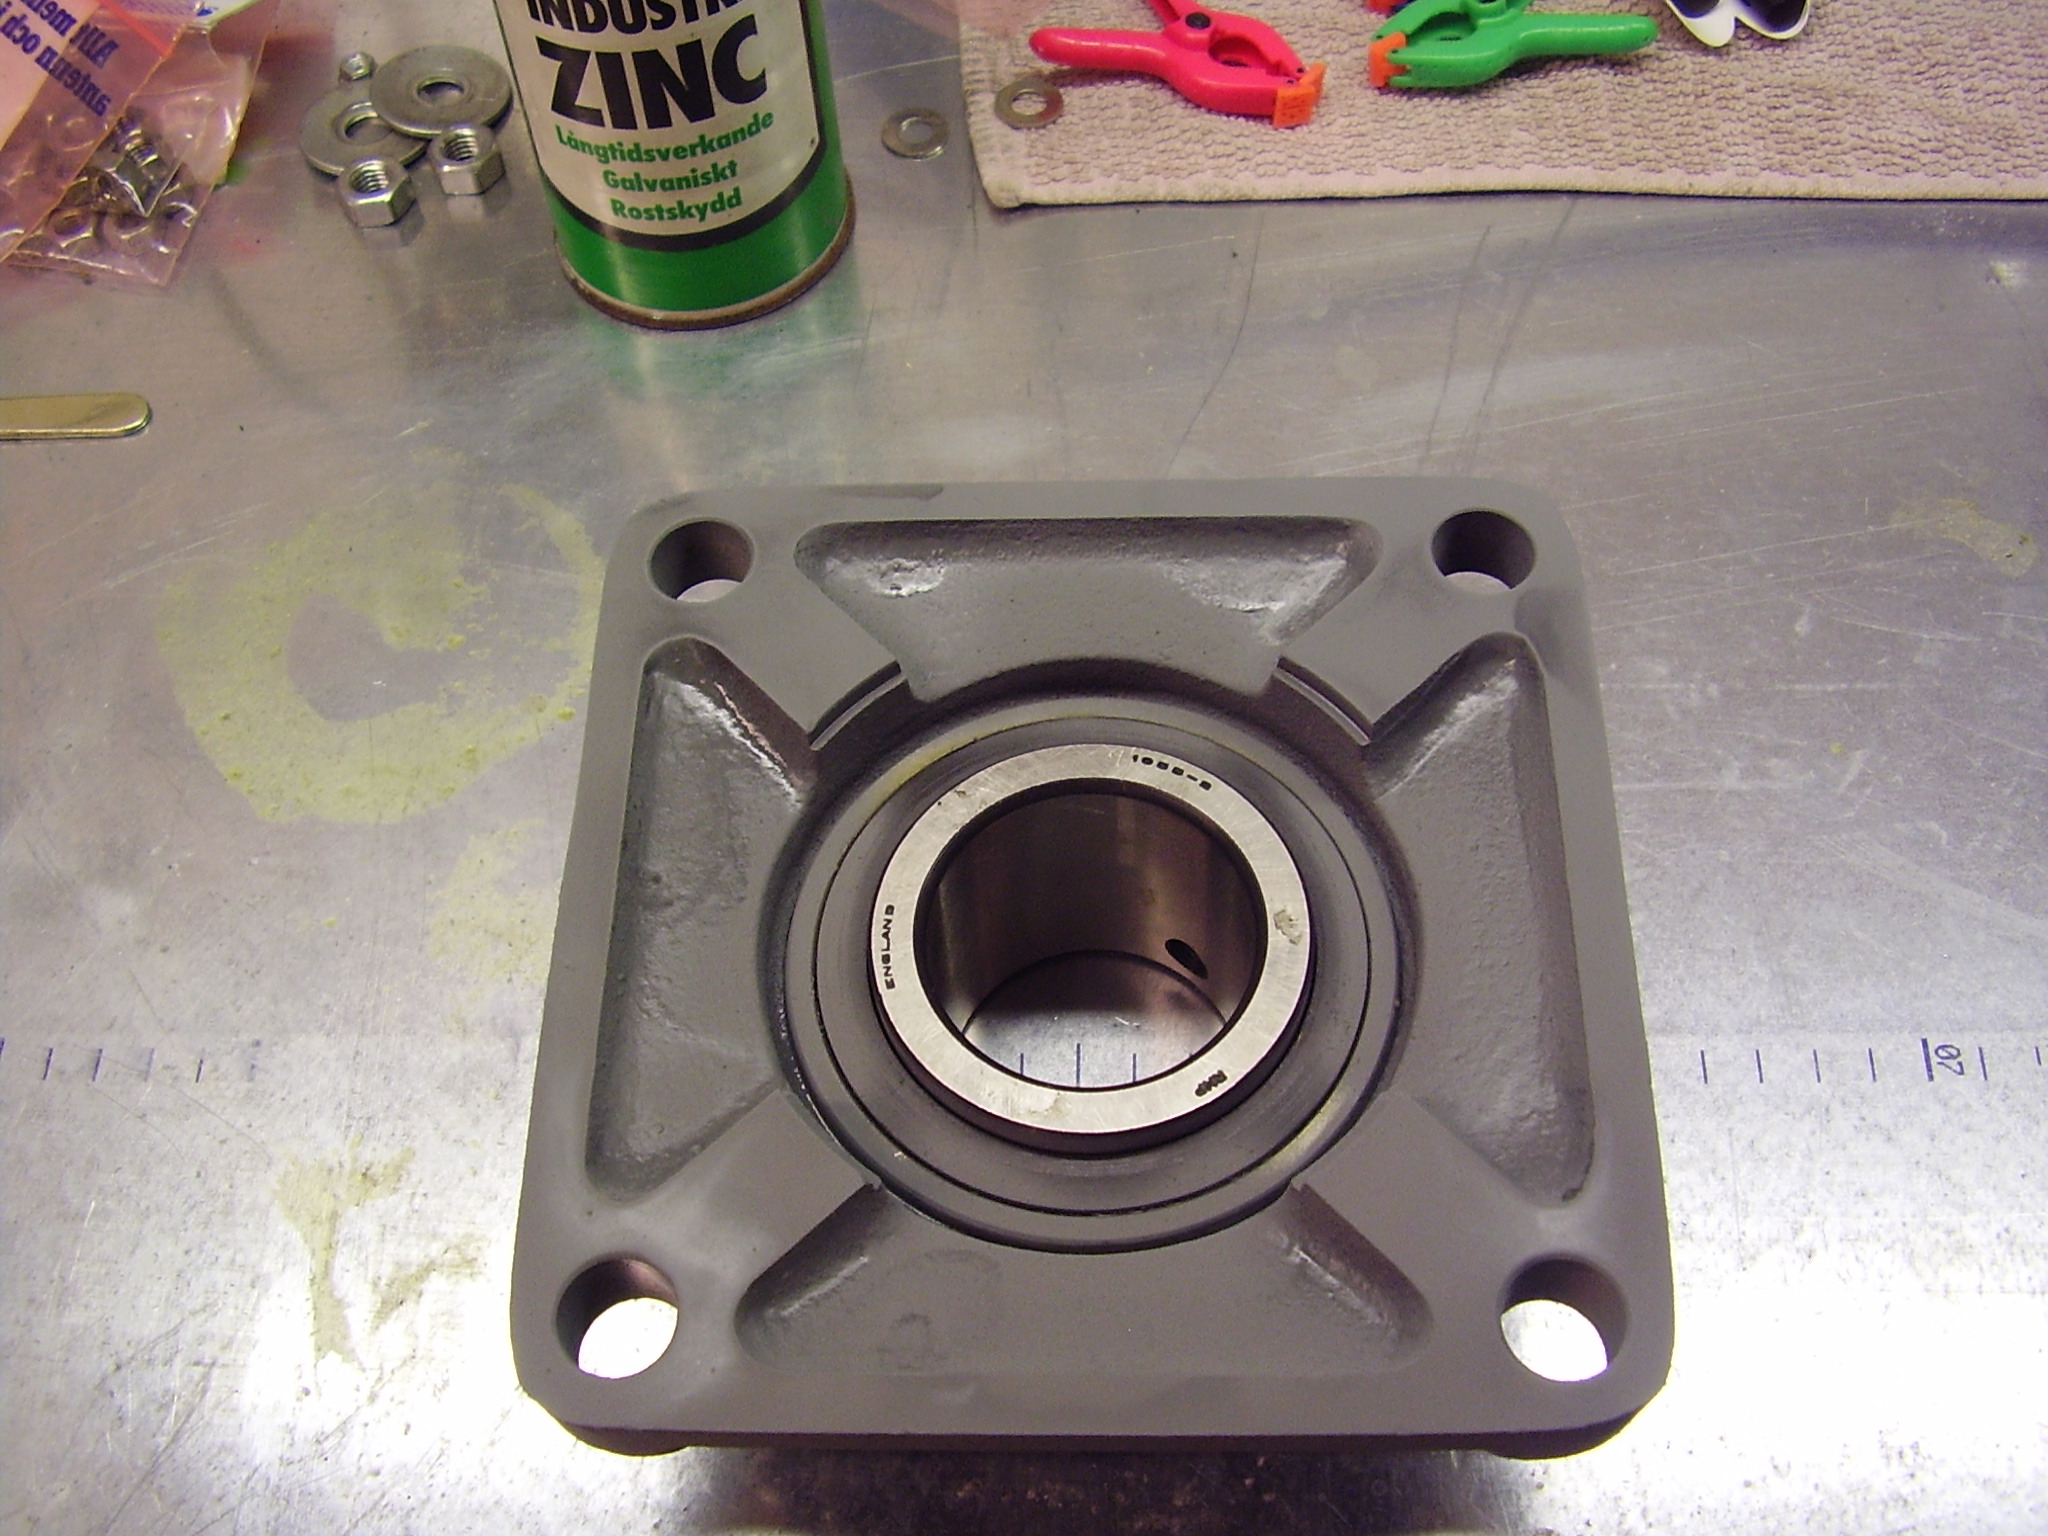
The inner-dimension of the bearing is 50mm. In a hope of increasing the lifetime of the bearing I painted it with zinc, see picture. I also painted the top of the bearing.
Since the plate is made of stainless steel I also isolate the bearing from direct contact, as made with the rotator. Here you can see how this looks. The bearing will not be as sensitive as the rotator, but stainless steel can as mentioned before give problems with other materials when kept together. You can see this clearly at this picture. I will not tell you what brand it is or where I have got it. The balls might been ìstainlessî from the beginning ñ clearly this is not what I would like to find up in my tower...
In operation
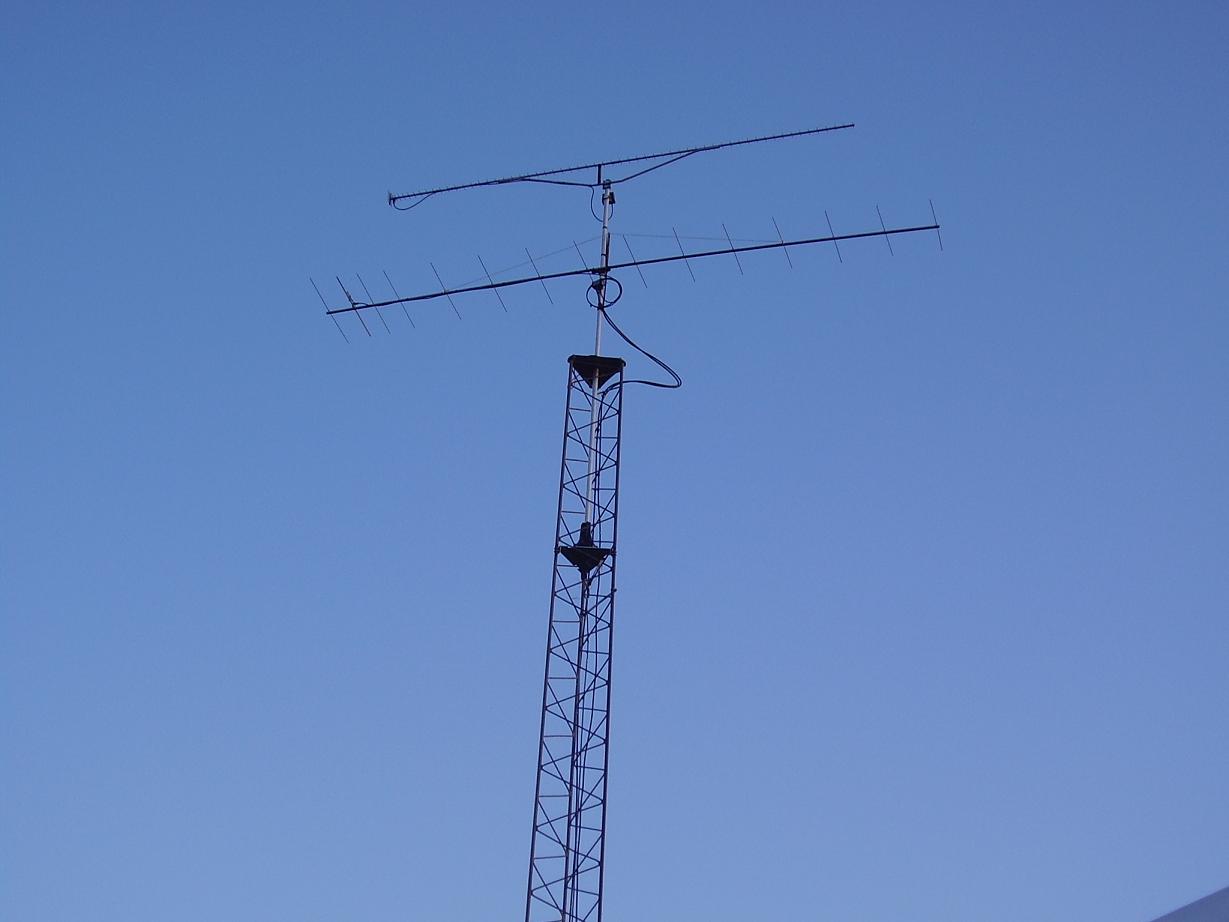
This is how the tower looks the 11 th of November 2006. As you can see the cables are only temporary mounted. The antenna on the top is a 65 element Wimo SHF yagi for 23cm with a pre-amplifier from SHF-Elektronik, MVV1296-VOX, bought from Parabolic AB. The other antenna is an old 15 element QUE-DEE yagi and the pre-amplifier is an old 144PA4/S from Wood@Douglas with a BF981 and PIN-diode switching.
Some QSOs are made and everything seem to work properly. Next is to put up a box for cables etc.
Next will be to do a proper grounding of the tower.